Cakes
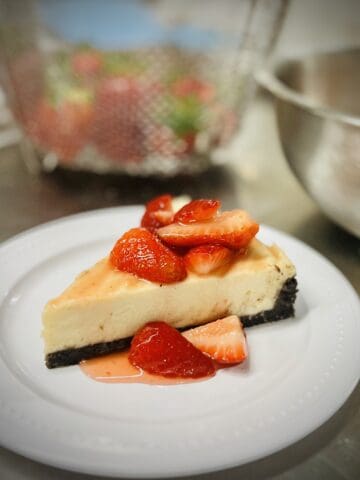
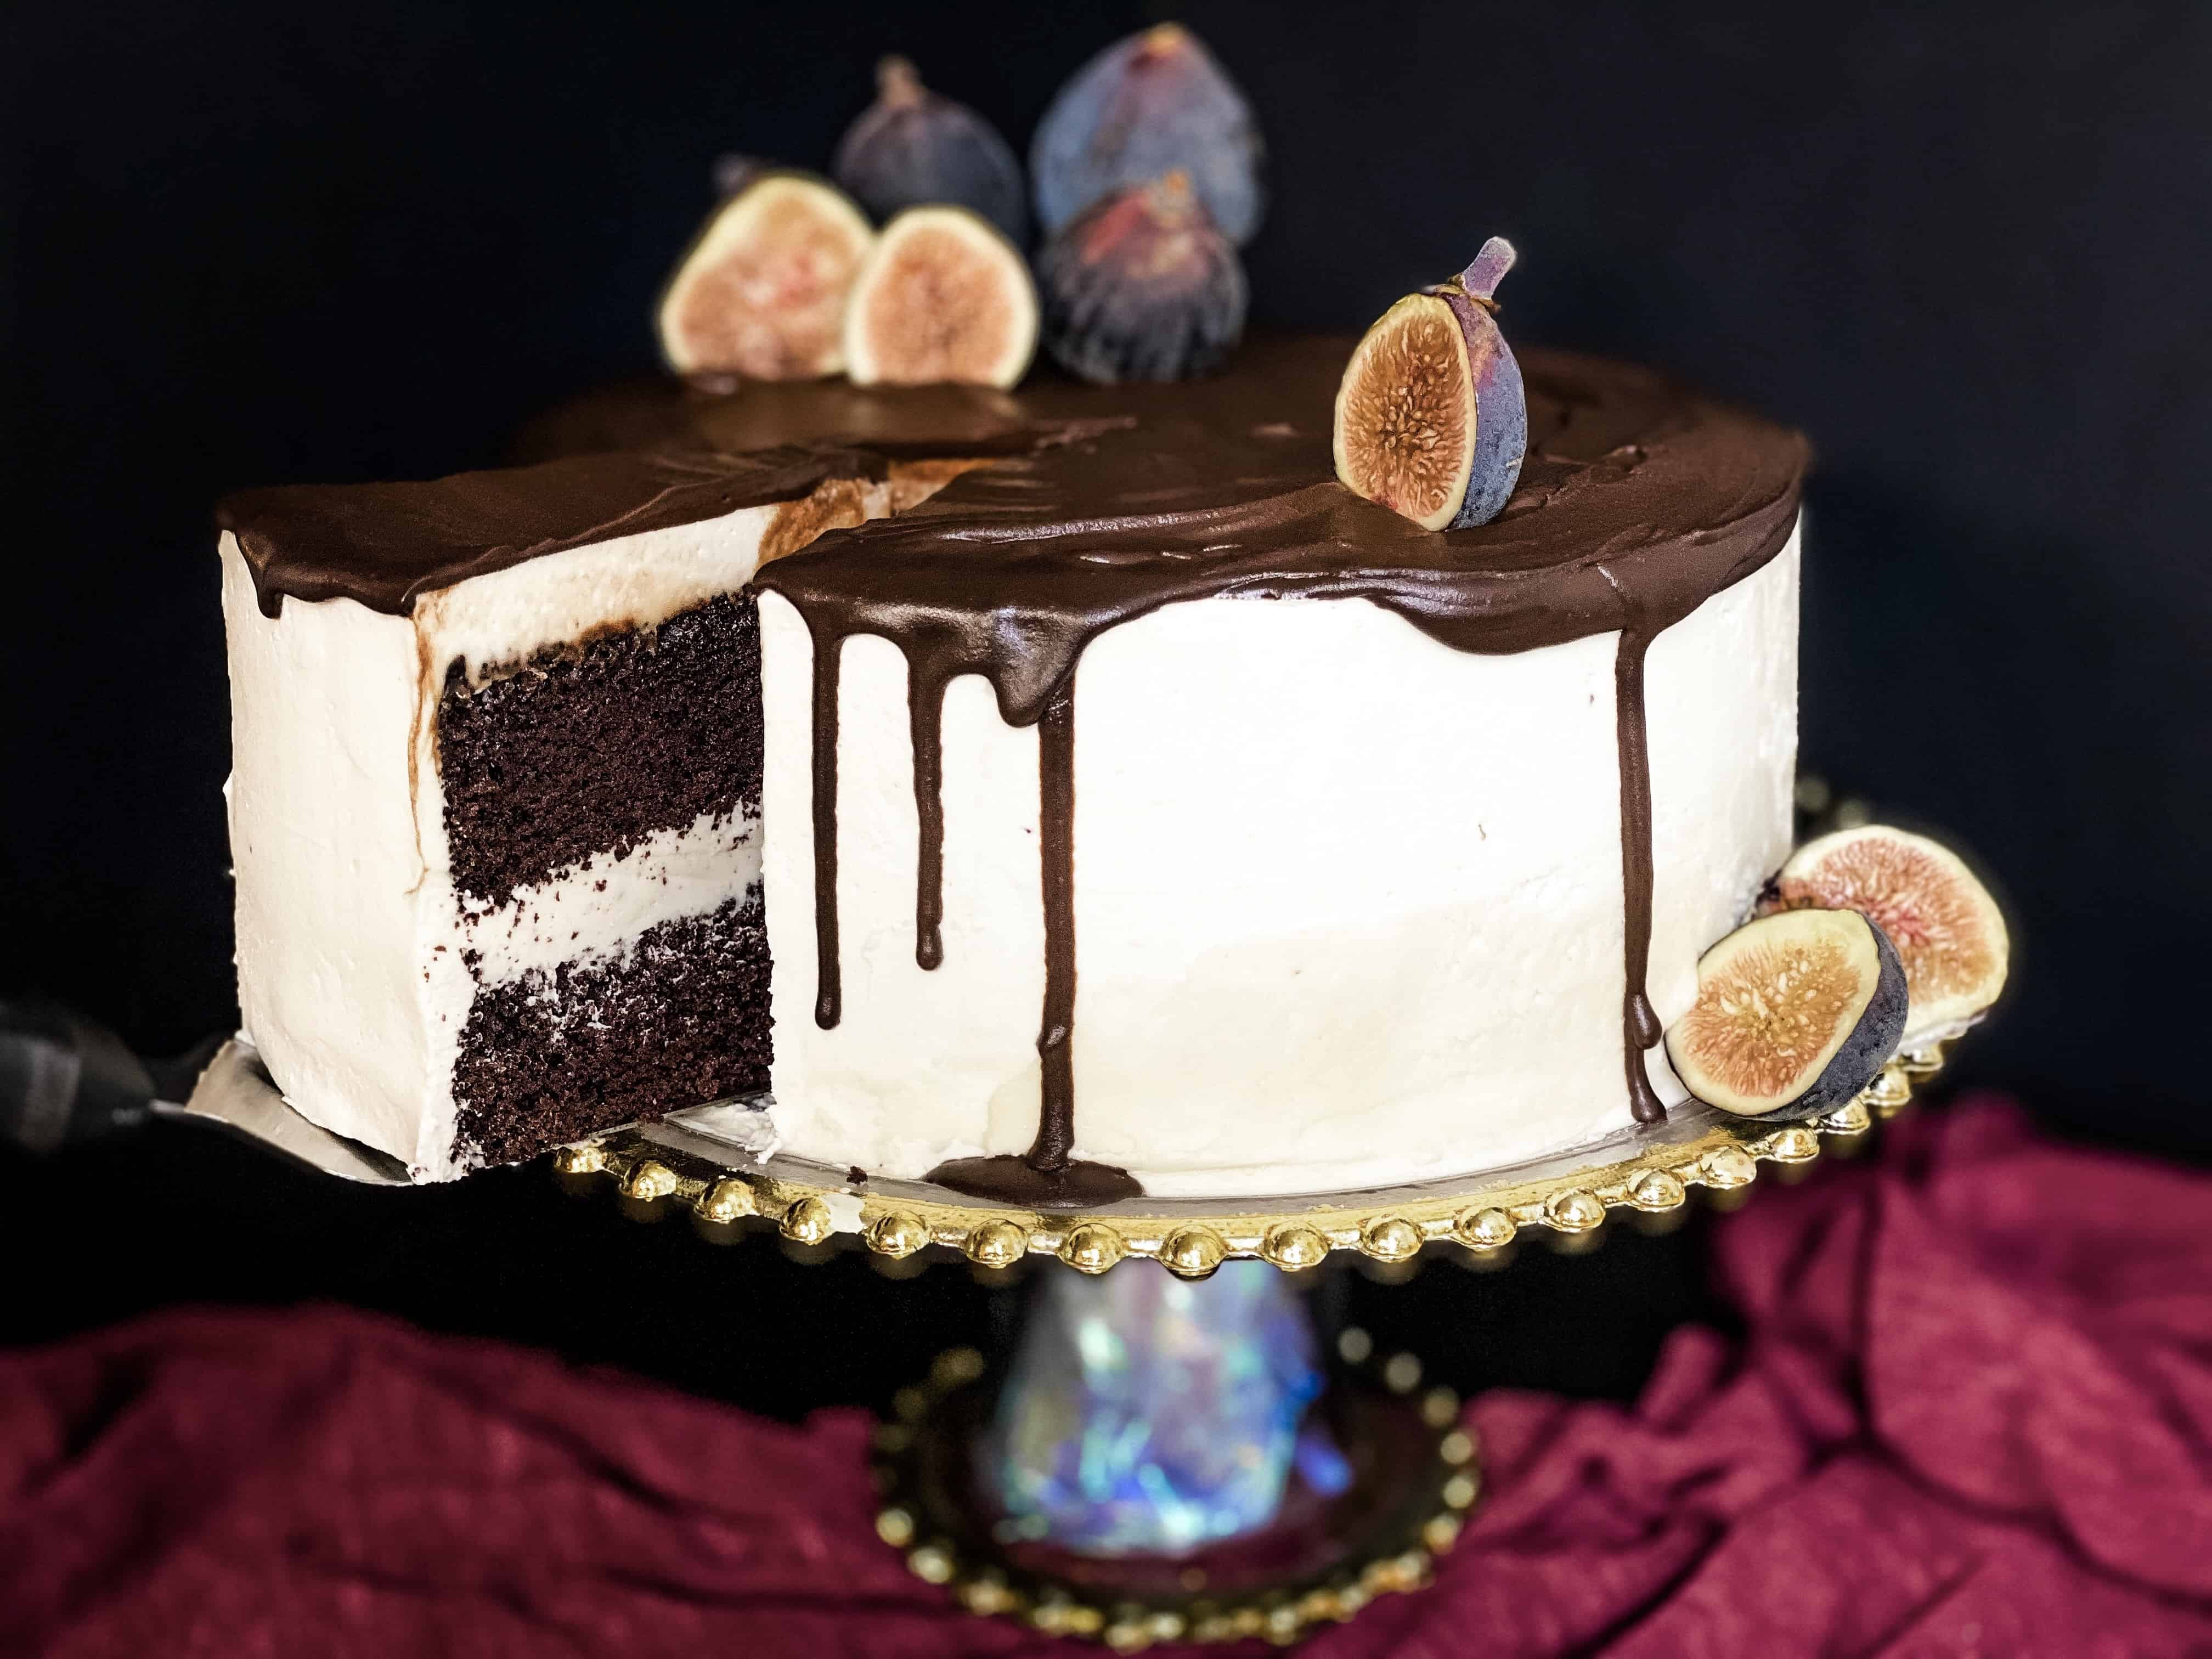
Vegan No-Bake Cheesecake (no nuts, coconuts, cream cheese, or oil)
Vegan no-bake cheesecake that actually tastes like cheesecake thanks to a secret ingredient – with no coconut, cream cheese, cashews, or oil!
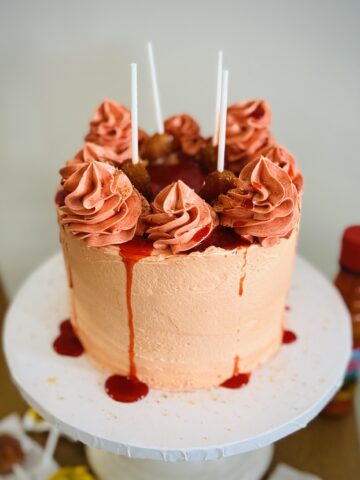
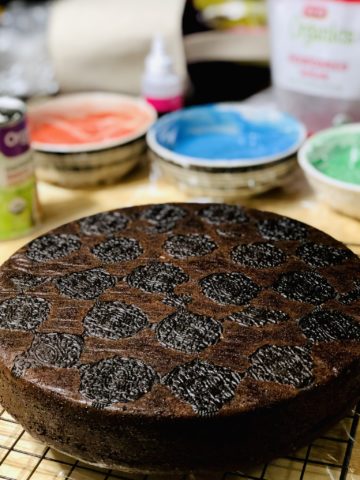
Mangonada Cake with Chili Lime Buttercream (vegan, soy-free)
Sweet mango cake made from natural mango purée, sweet and spicy chili lime buttercream, accented with chamoy and adorned with Mexican spicy candy, this cake is addictive in all the right ways!

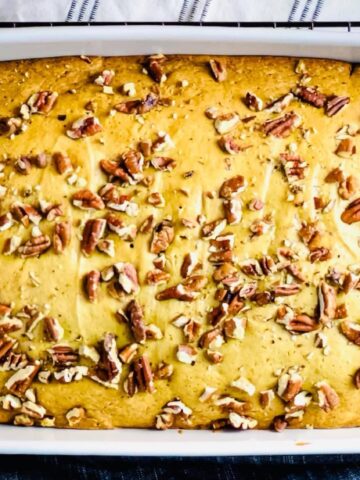
Fruit Smoothie Cake (vegan, oil-free)
The simplest fruit-flavored cake recipe ever. Made with fruit as the first ingredient, it’s super allergy-friendly, infinitely customizable, oil-free, and can be made sugar and gluten-free as well.