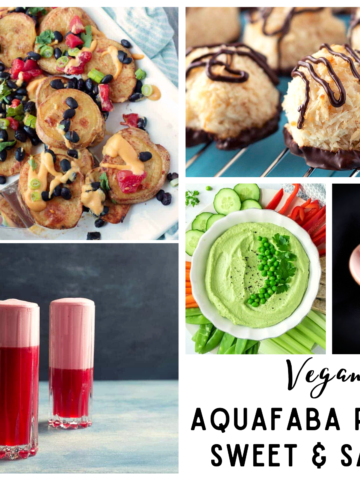
70+ Vegan Aquafaba Recipes – Sweet, savory, and more
Aquafaba is invaluable in the vegan/egg-free kitchen. Here, I’ve compiled a motherlode of recipes utilizing it in every way imaginable.

Aquafaba is invaluable in the vegan/egg-free kitchen. Here, I’ve compiled a motherlode of recipes utilizing it in every way imaginable.
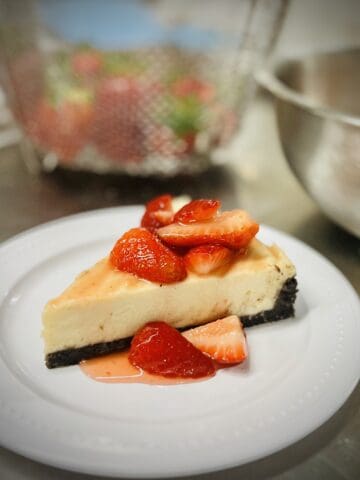
Vegan no-bake cheesecake that actually tastes like cheesecake thanks to a secret ingredient – with no coconut, cream cheese, cashews, or oil!
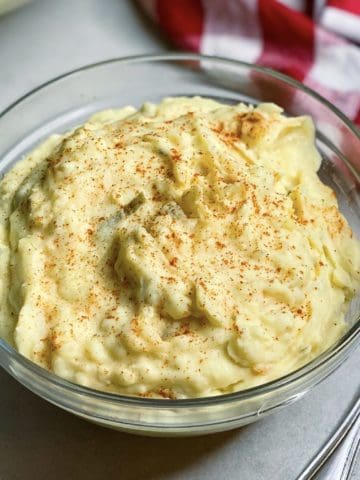
Quick vegan potato salad comes together in half the time as traditional. A southern style mustard salad, great for cookouts and holidays.
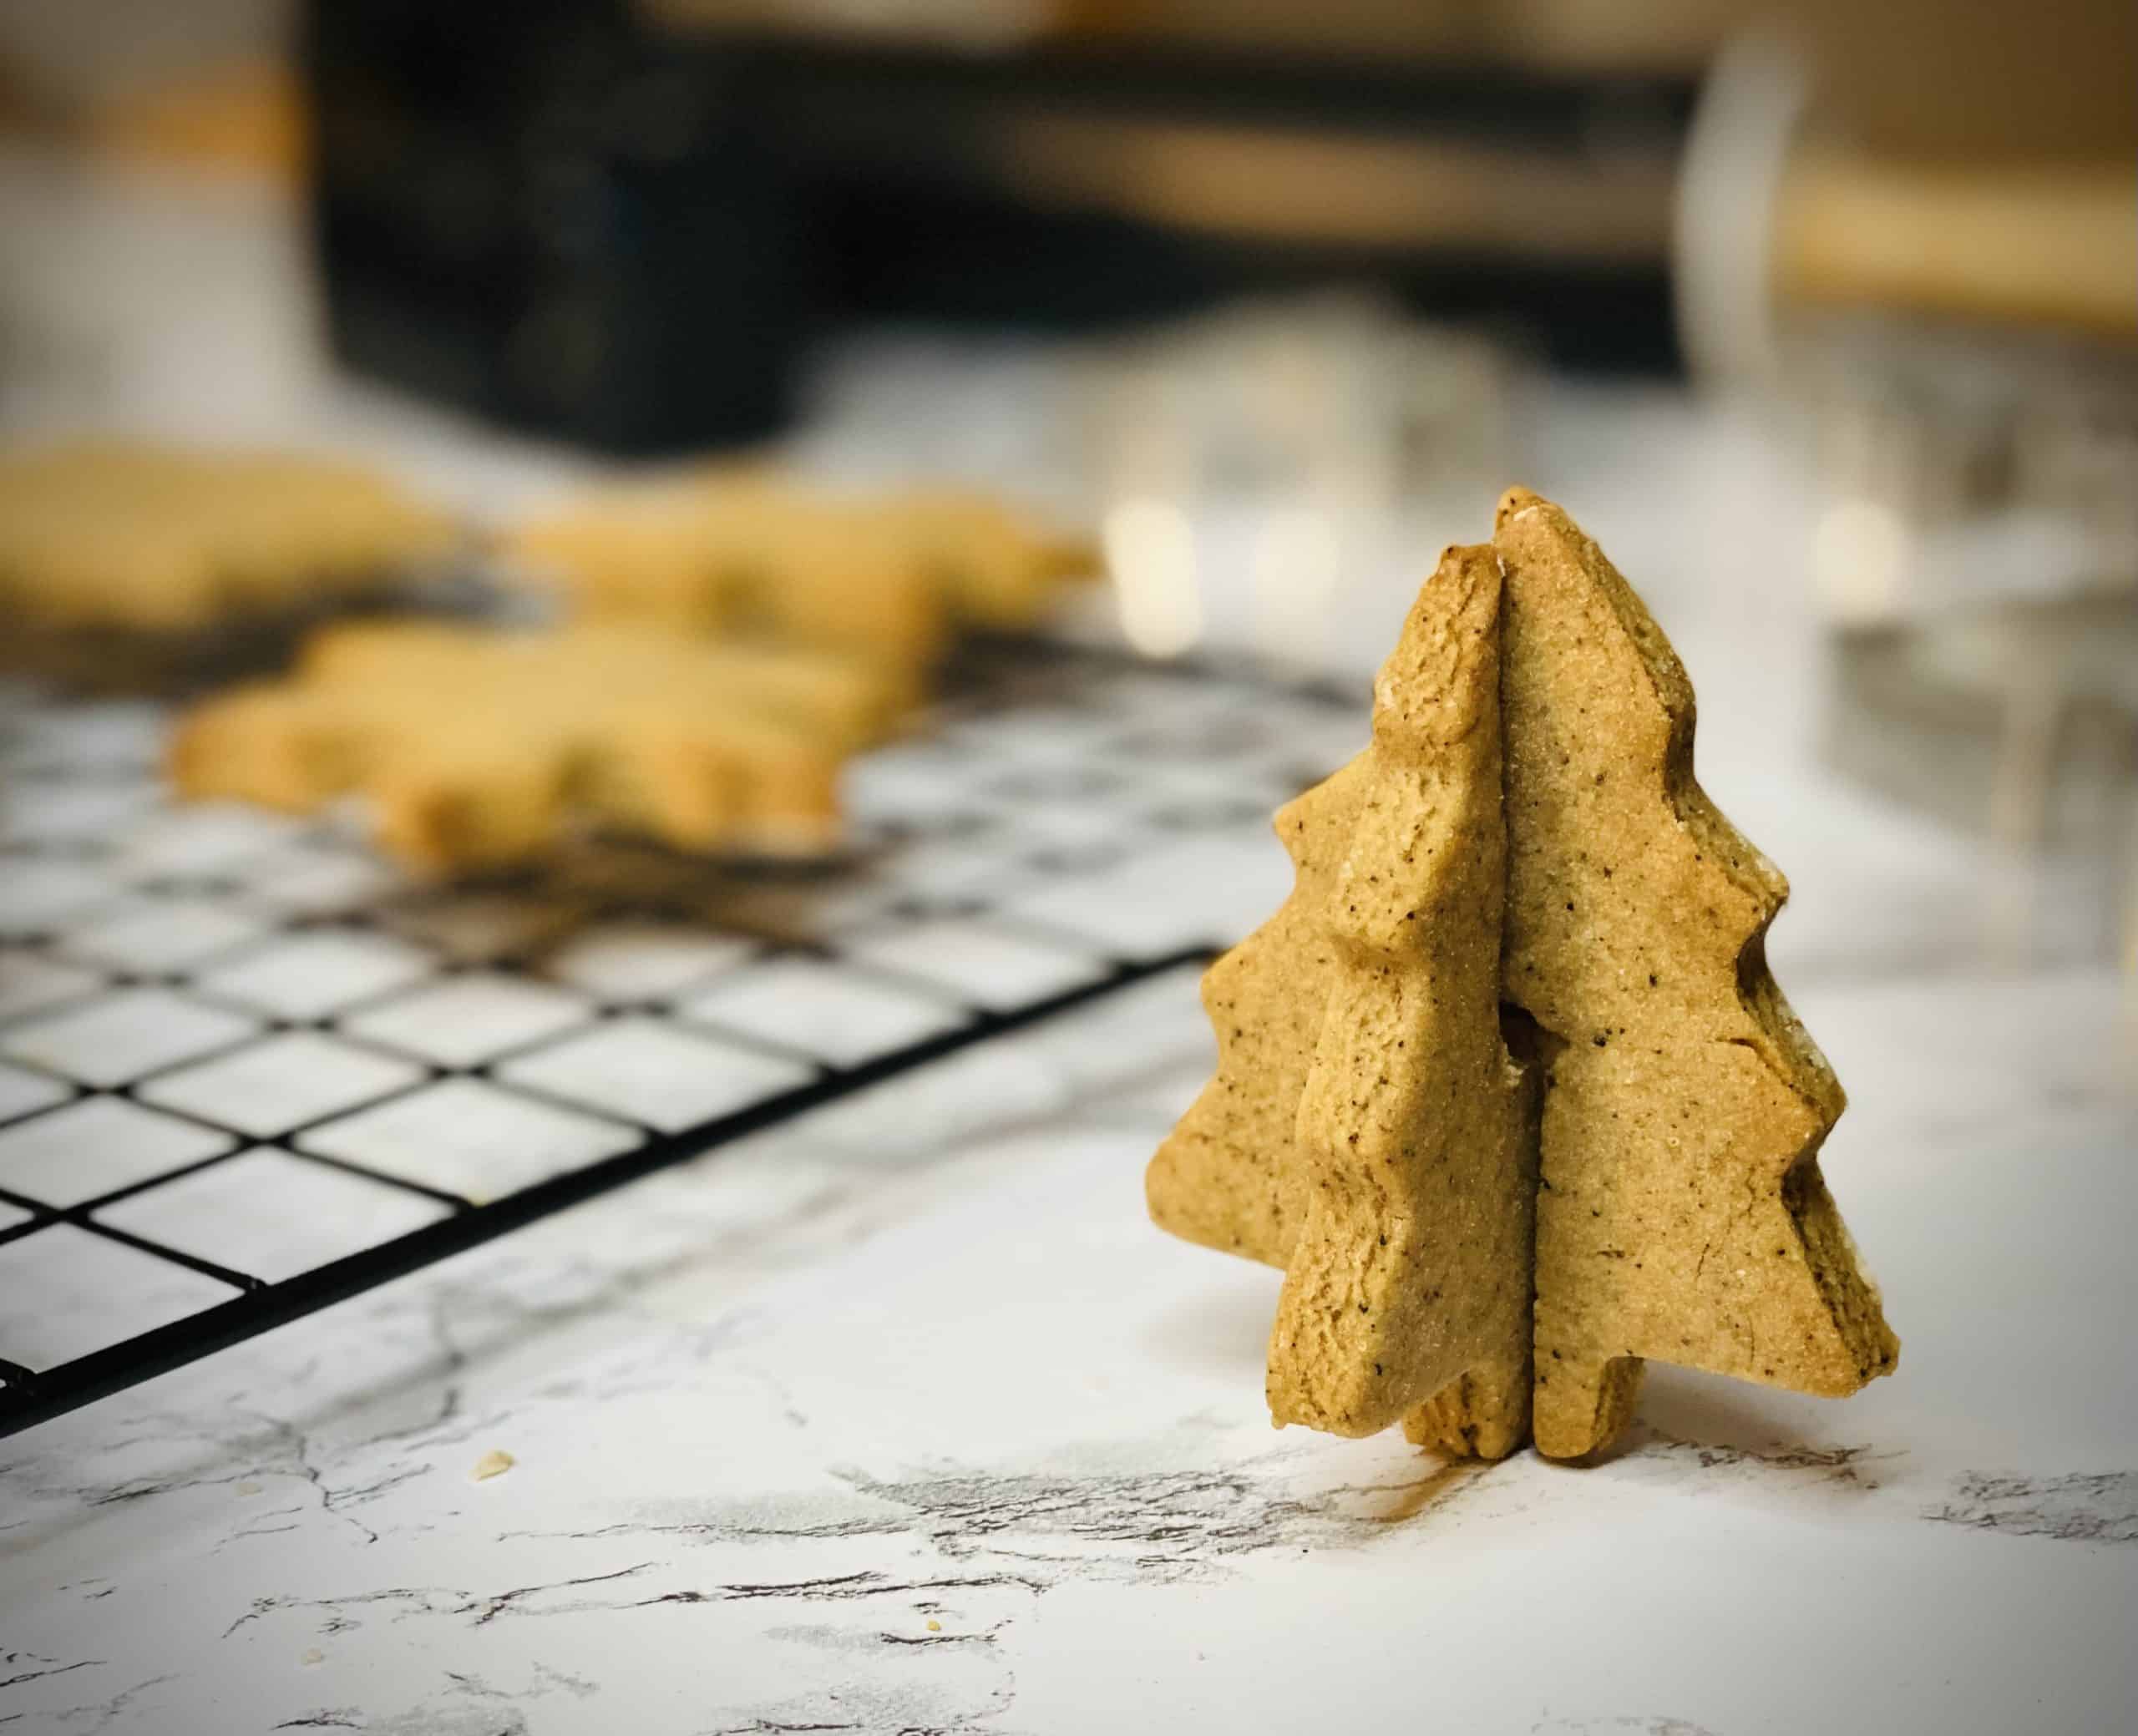
Vegan gingerbread cookies with a little something extra – chai and espresso! Spicy, no-chill, and no-spread, they’re easy to make for any occasion.
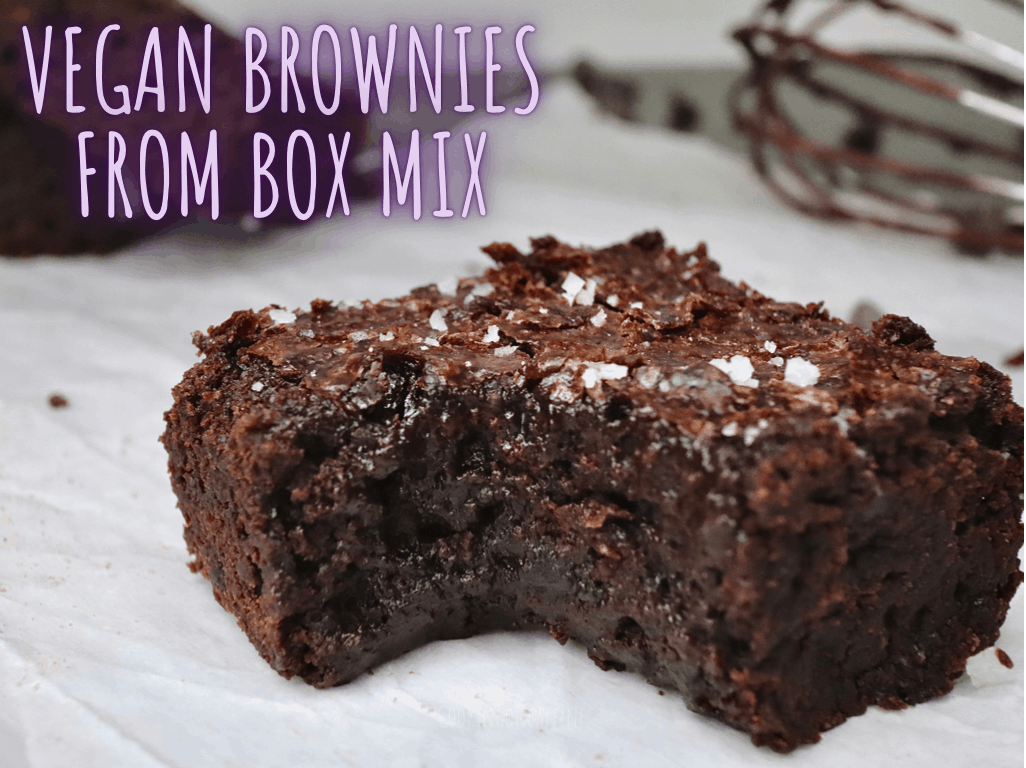
Vegan brownies from box mix is easy. I’ll show you how to do it, why your past attempts failed, and how to get perfect egg and dairy-free brownies every time.

Why are my macarons mottled on top? Learn what causes it and ten ways to prevent mottled macs.

Why are my macarons burning on the bottom? Learn why the bottoms burn, and easy ways to fix it.