Vegan Gingerbread Cookies – Chai Espresso
Vegan gingerbread cookies with a little something extra – chai and espresso! Spicy, no-chill, and no-spread, they’re easy to make for any occasion.

Vegan gingerbread cookies with a little something extra – chai and espresso! Spicy, no-chill, and no-spread, they’re easy to make for any occasion.

Why are my macarons mottled on top? Learn what causes it and ten ways to prevent mottled macs.
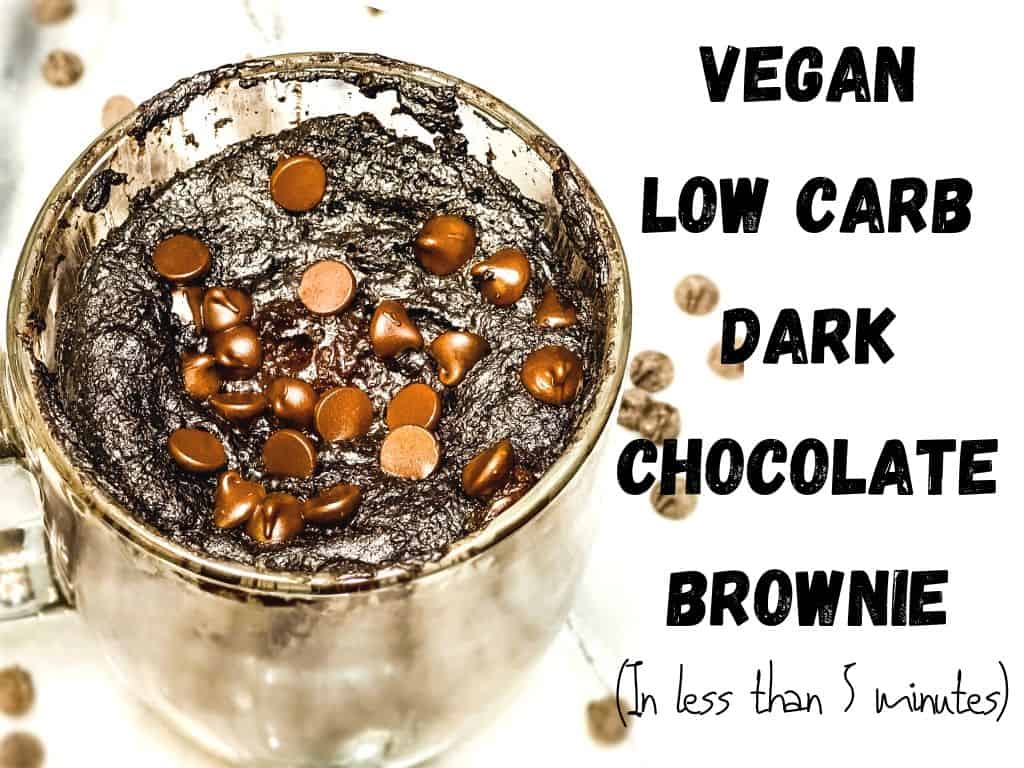
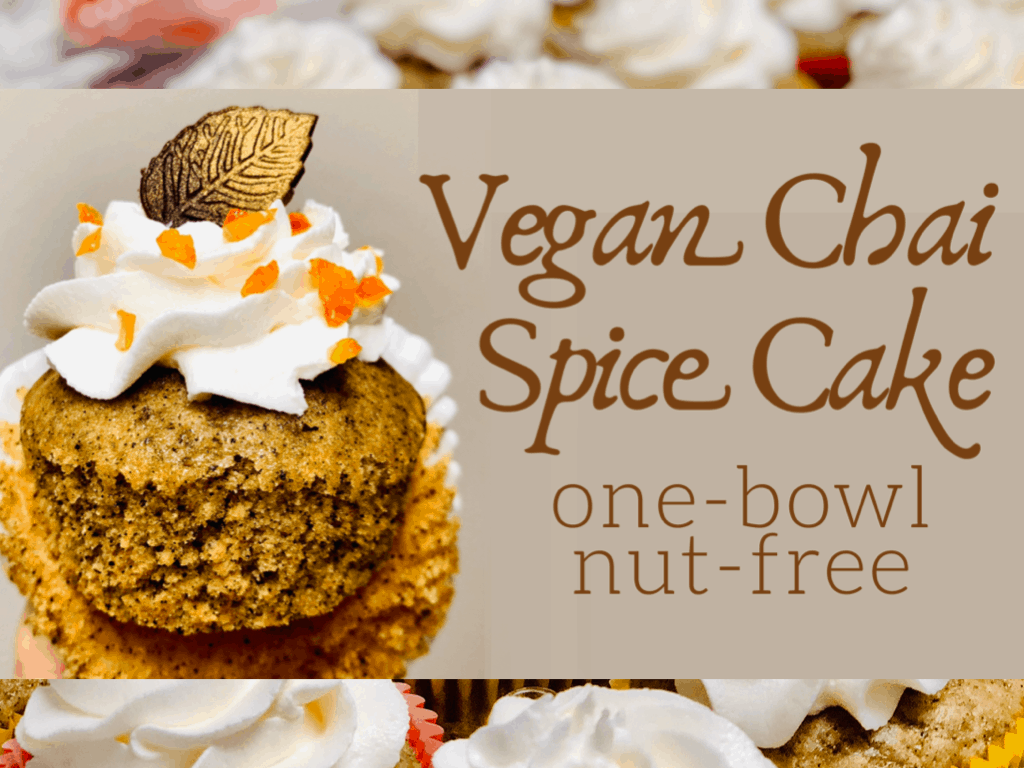
Sometimes you need a sweet treat right now, without a lot of prep or waiting, and you don’t want to share. Whether you’re keto or just watching your carbs, or you’re diabetic and don’t want to throw your sugars off, or if you’re avoiding gluten or animal products, this recipe is for you!

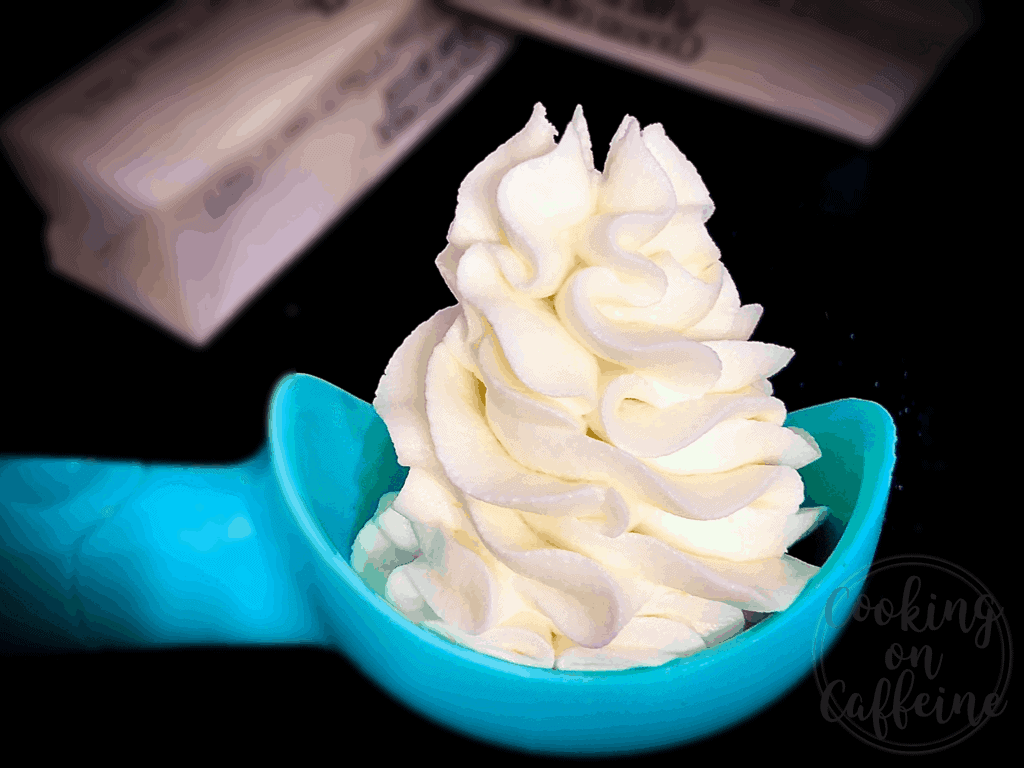
The easiest meringue buttercream that has ever existed. For those who want a delicious, silky buttercream that isn’t too sweet – without doing a lot of work.

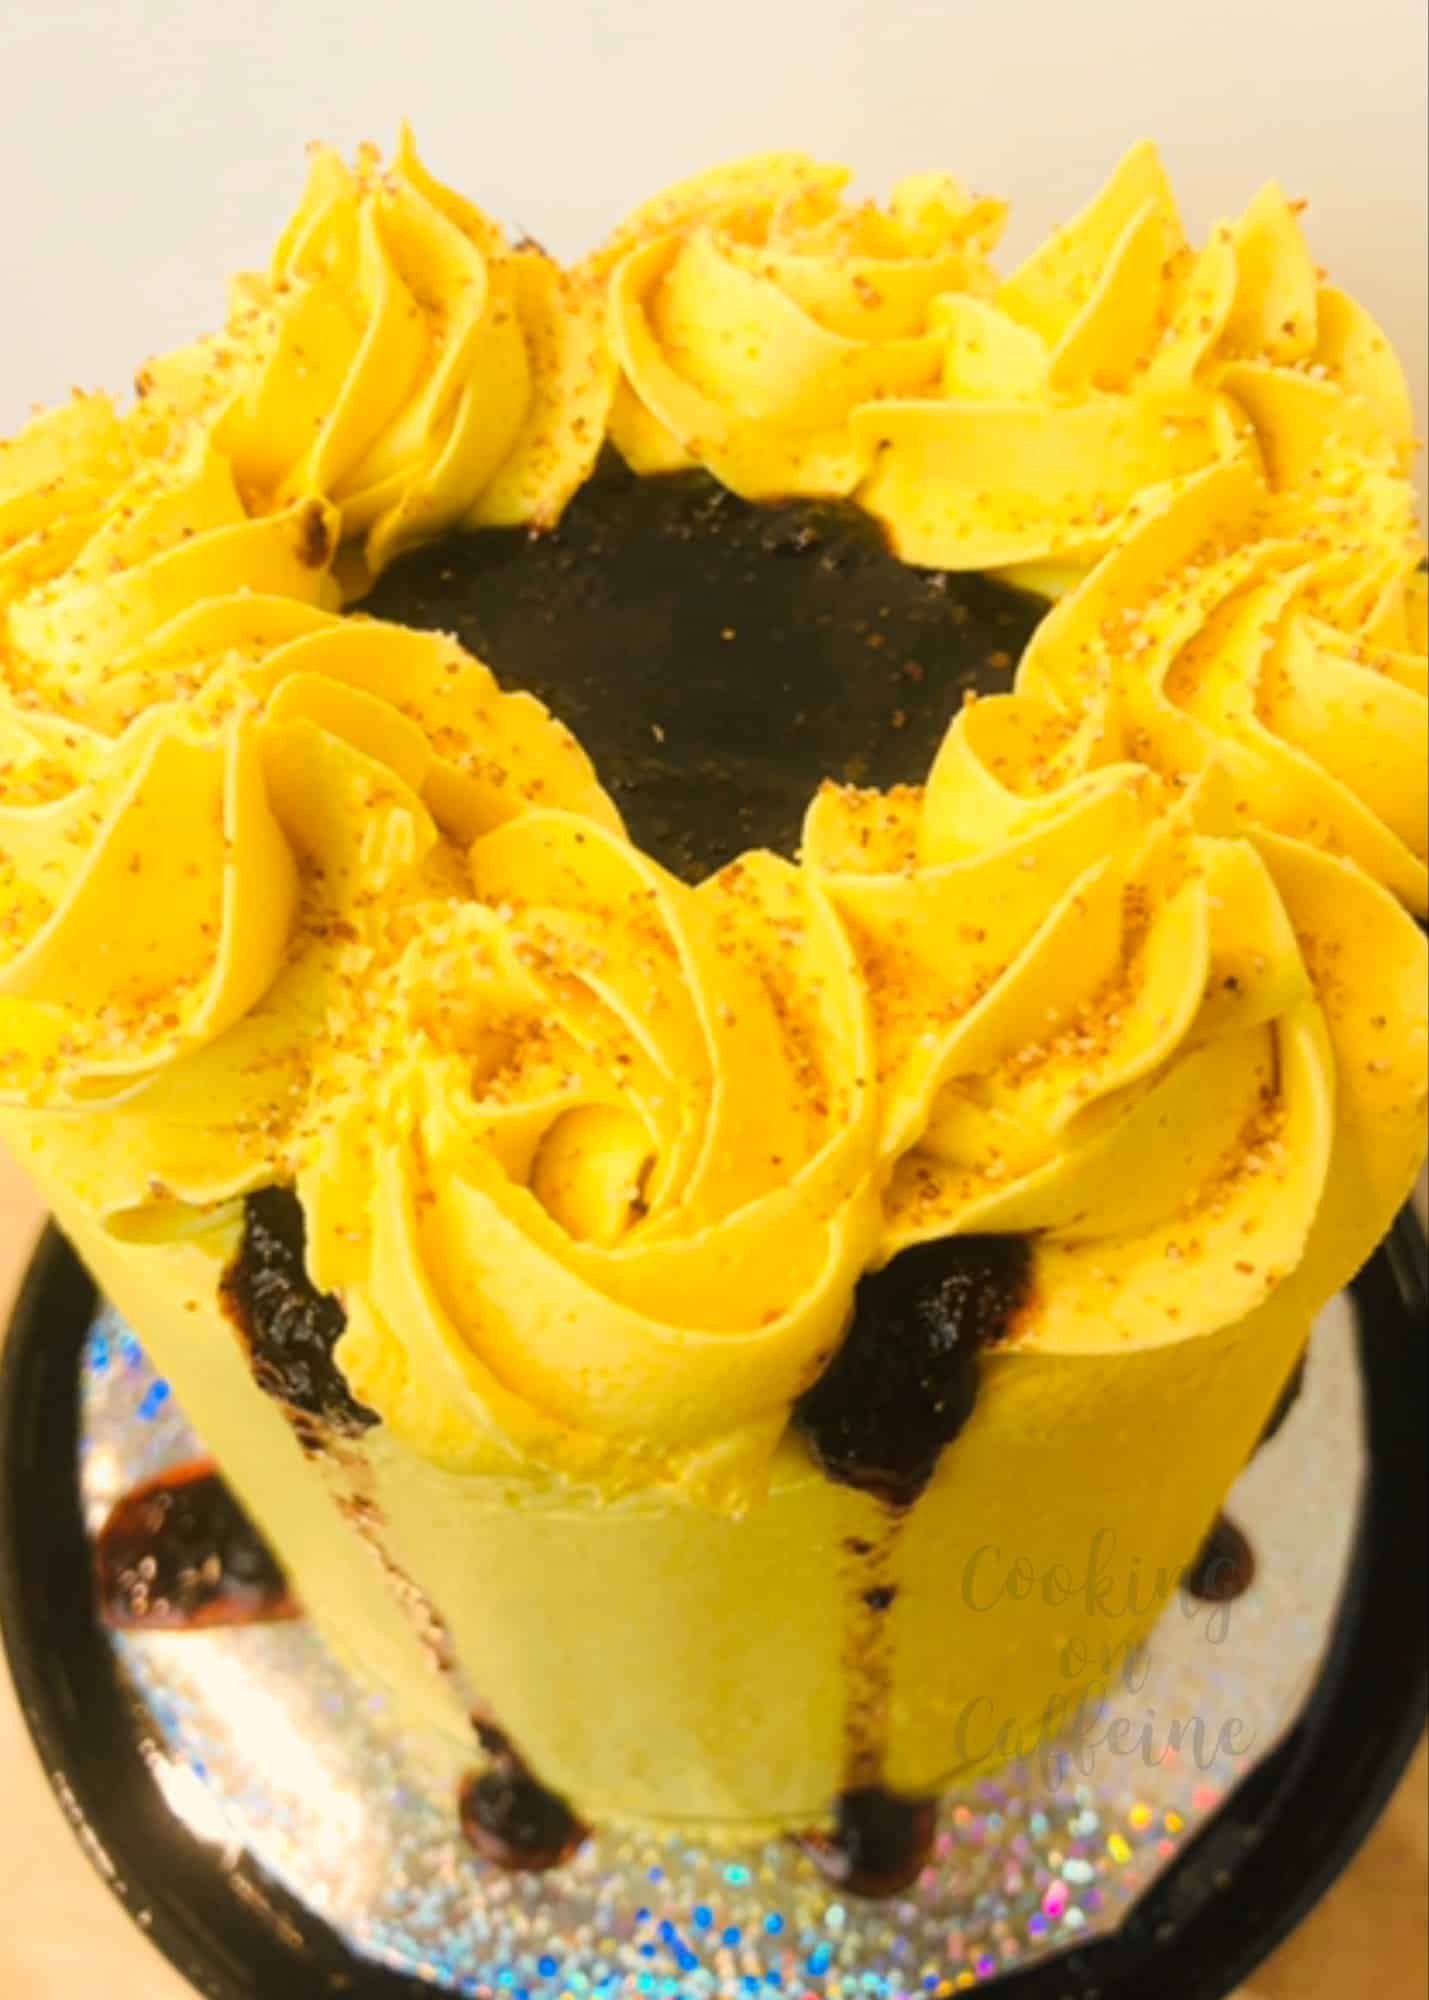
Sweet mango cake made from natural mango purée, sweet and spicy chili lime buttercream, accented with chamoy and adorned with Mexican spicy candy, this cake is addictive in all the right ways!
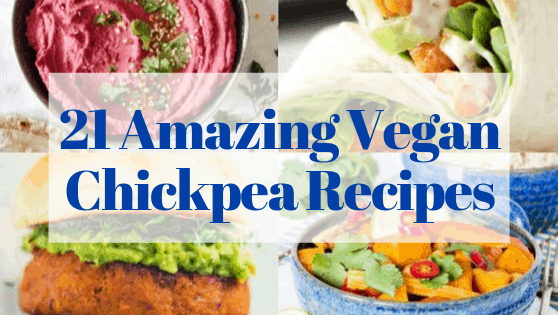
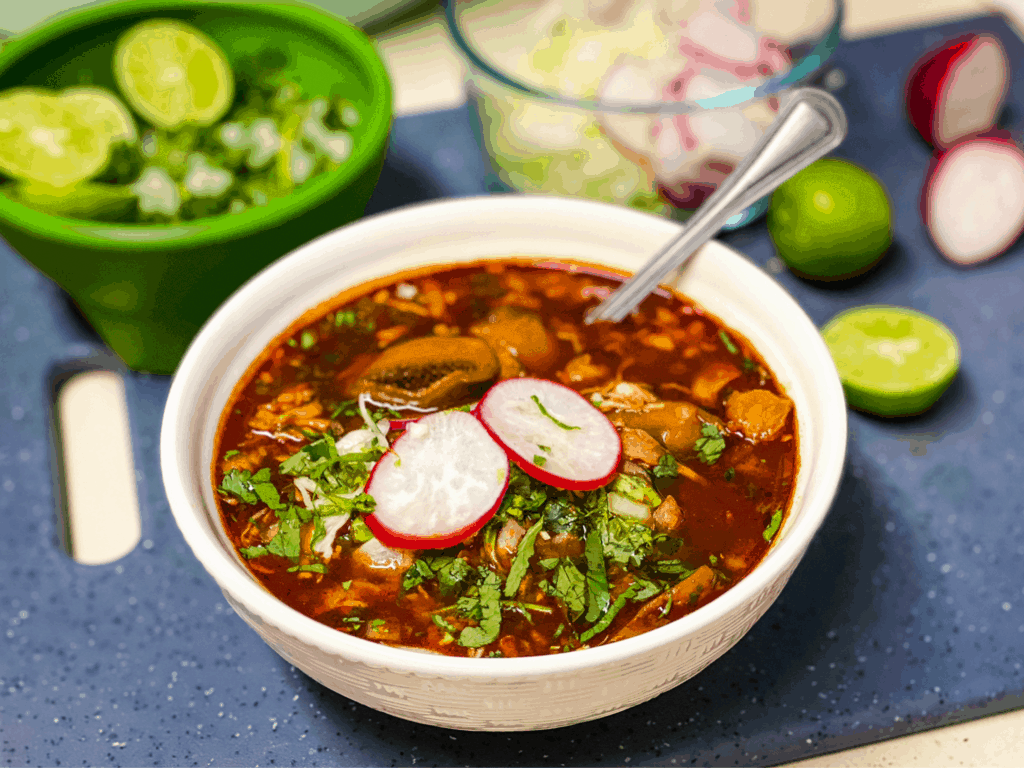
A list of some of the internet’s best vegan recipes whose stars are the beans – so you can finally reclaim your fridge and freezer back from your garbanzo overlords!