
 Meggan Leal
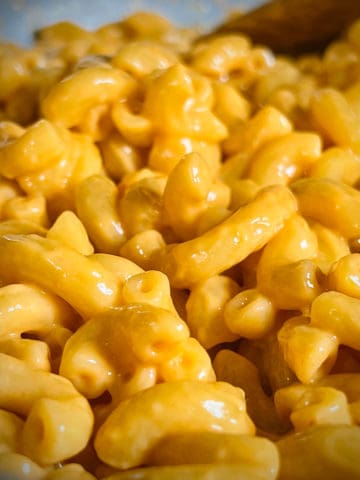
Protected: Vegan Blue Box Mac and Cheese for National Mac and Cheese Day 2022!
There is no excerpt because this is a protected post.

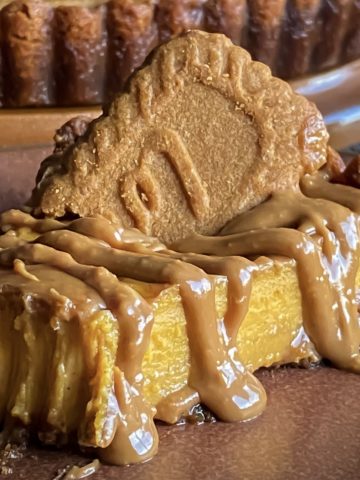
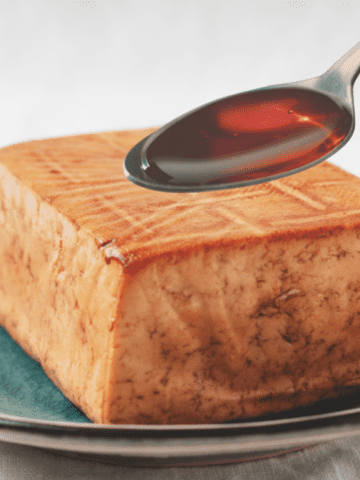
Vegan Pumpkin Cheesecake with Cookie Butter
Vegan pumpkin cheesecake made with Biscoff cookie butter swirls throughout. Easy to make, easier to eat. No nuts, coconuts, or cream cheese.