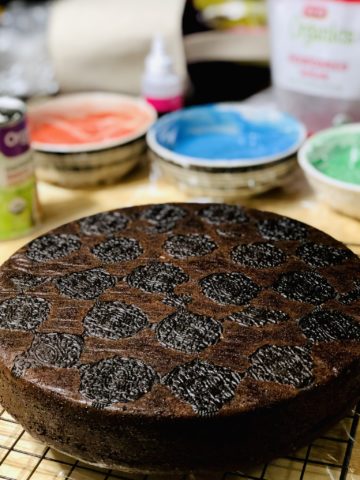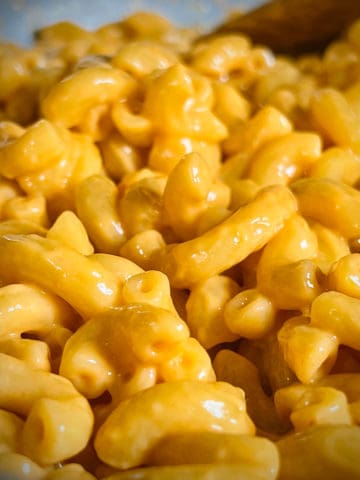
Protected: Vegan Blue Box Mac and Cheese for National Mac and Cheese Day 2022!
There is no excerpt because this is a protected post.

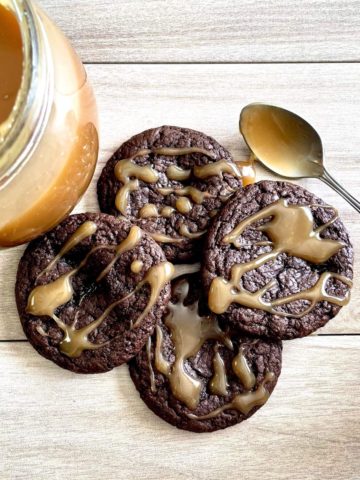
All the sweets and pastries your hearts desire – but vegan and allergy friendly!
There is no excerpt because this is a protected post.
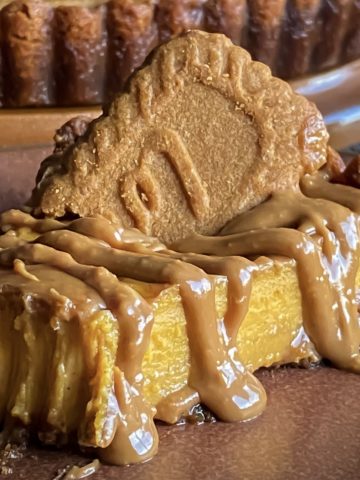
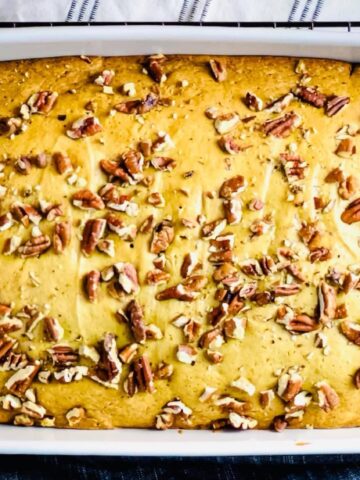
Vegan pumpkin cheesecake made with Biscoff cookie butter swirls throughout. Easy to make, easier to eat. No nuts, coconuts, or cream cheese.
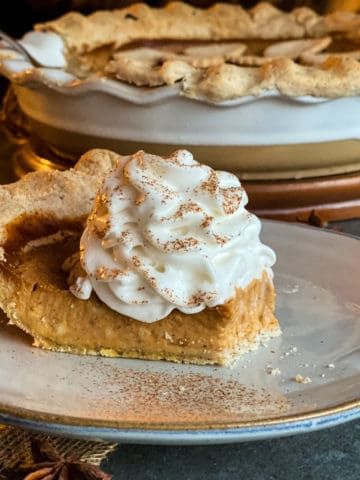
Vegan pumpkin pie that’s easy to make with simple ingredients. Super silky with incredible taste, no one will know it’s vegan! No coconut or condensed milk.
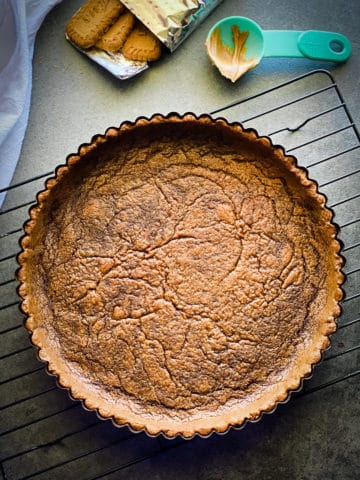
This Vegan Biscoff Cookie Crust is made with Biscoff cookies, cookie butter, and water for the perfect base for pies, cheesecakes, and more.

This gluten free pie crust is easy with a buttery taste and flaky texture. It’s sturdy and delicious, made with cassava. Vegan and grain free.
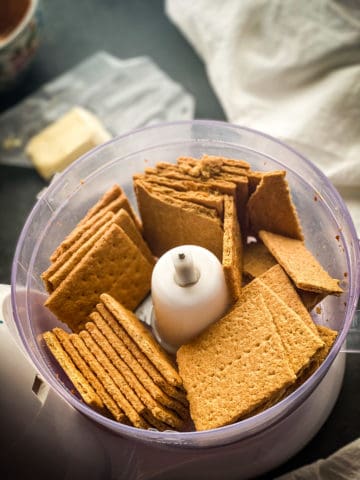
A graham cracker crust recipe that is simple, not too sweet, comes out crisp and holds its shape. Grahams, butter, & water. Vegan w/GF option.