
Vegan Gingerbread Cookies – Chai Espresso
Vegan gingerbread cookies with a little something extra – chai and espresso! Spicy, no-chill, and no-spread, they’re easy to make for any occasion.

Vegan gingerbread cookies with a little something extra – chai and espresso! Spicy, no-chill, and no-spread, they’re easy to make for any occasion.

Vegan meringue cookies are super easy to make, with ingredients you probably have right now.
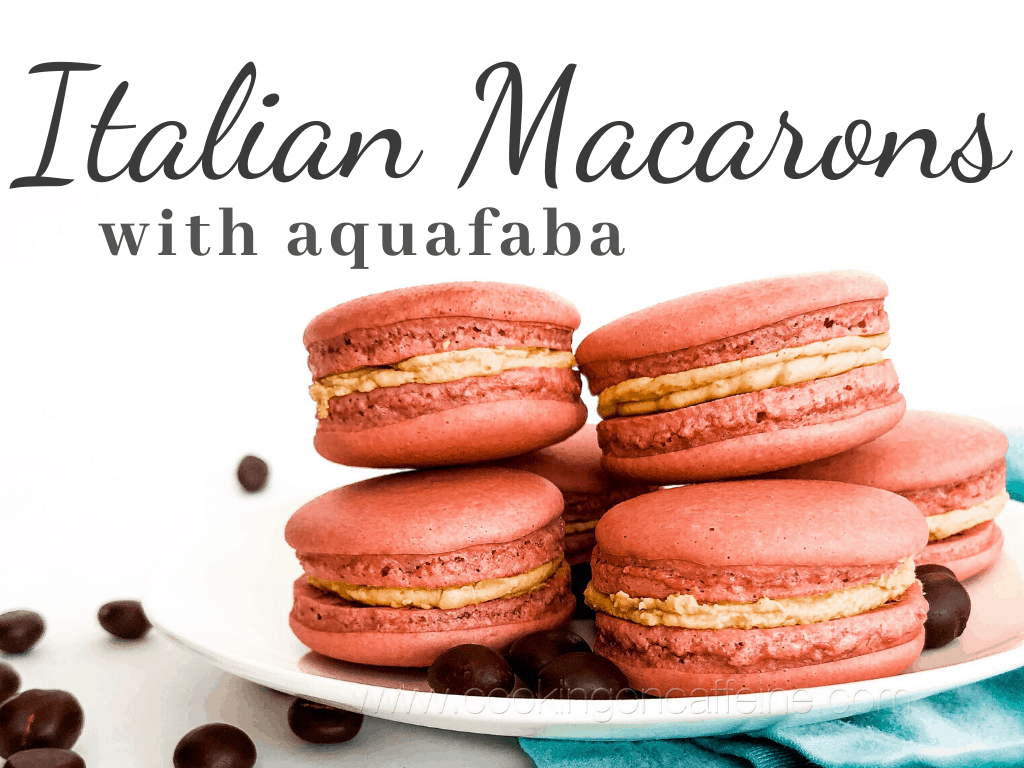
Your complete guide to making vegan, eggless Italian macarons with aquafaba. Perfect for those avoiding animal products or who have an egg allergy.
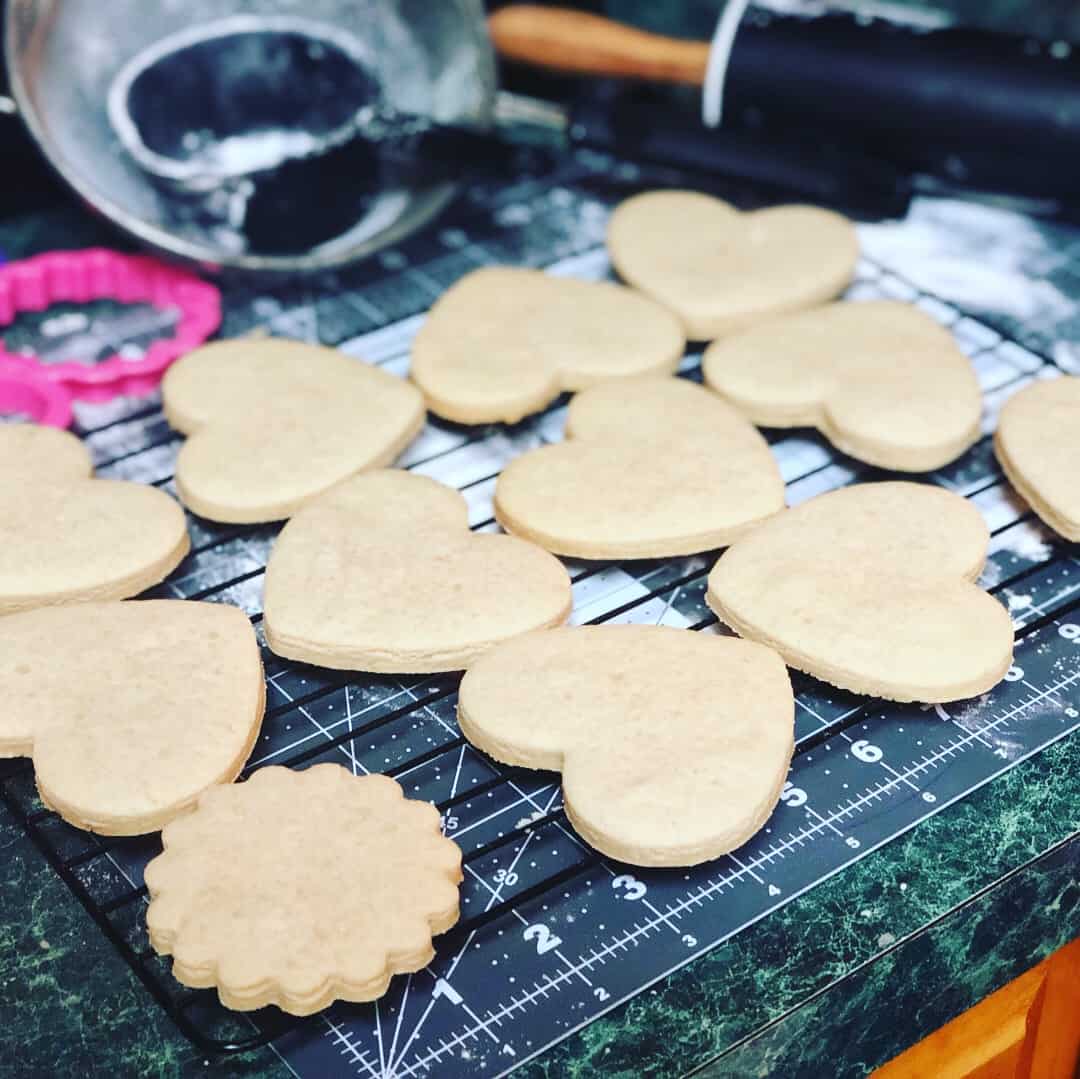
Vegan sugar cookies that not only taste amazing, but that are easier to make and less expensive than any non-vegan recipe I have ever used.