Vegan Gingerbread Cookies – Chai Espresso
Vegan gingerbread cookies with a little something extra – chai and espresso! Spicy, no-chill, and no-spread, they’re easy to make for any occasion.

Vegan gingerbread cookies with a little something extra – chai and espresso! Spicy, no-chill, and no-spread, they’re easy to make for any occasion.
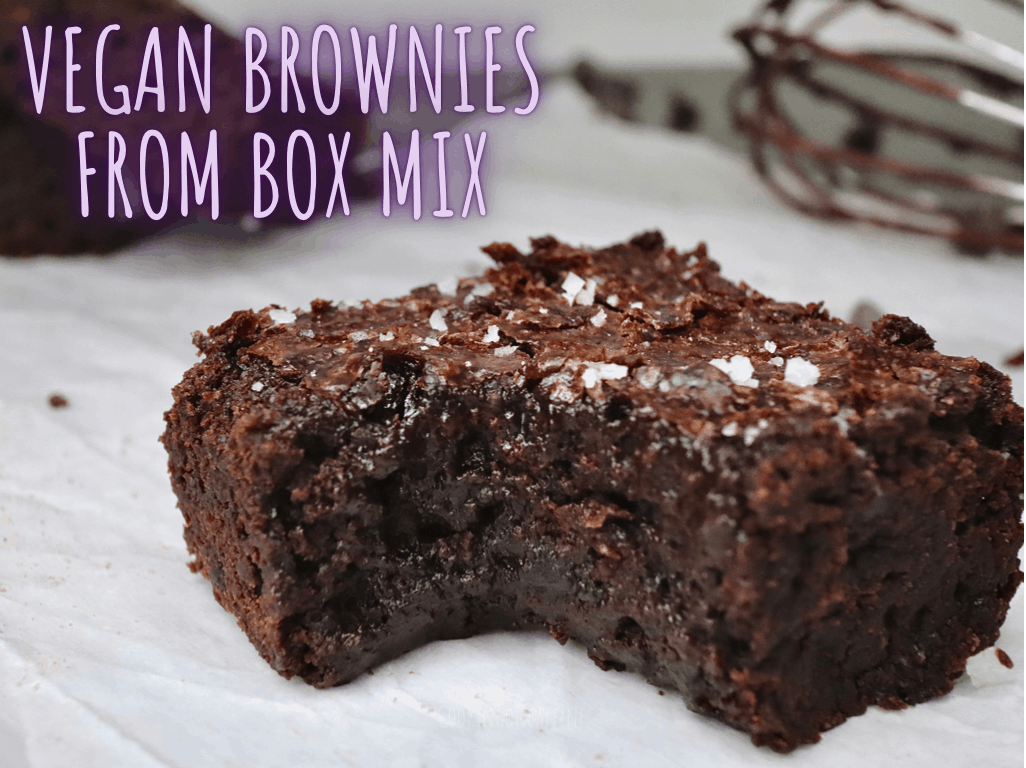
Vegan brownies from box mix is easy. I’ll show you how to do it, why your past attempts failed, and how to get perfect egg and dairy-free brownies every time.

Vegan meringue cookies are super easy to make, with ingredients you probably have right now.

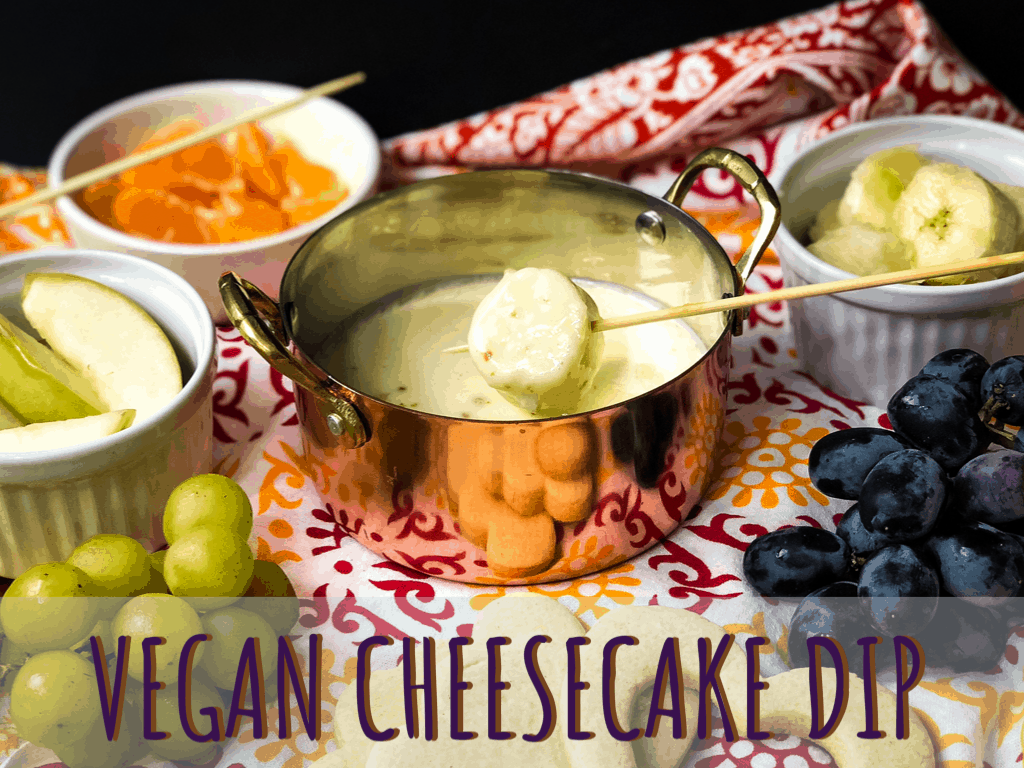
The easiest dairy-free, vegan recipe to mimic the taste and texture of traditional cream cheese frosting without breaking the bank or your spirit. Read the recipe post for soy, nut, and coconut free options.

The easiest meringue buttercream that has ever existed. For those who want a delicious, silky buttercream that isn’t too sweet – without doing a lot of work.

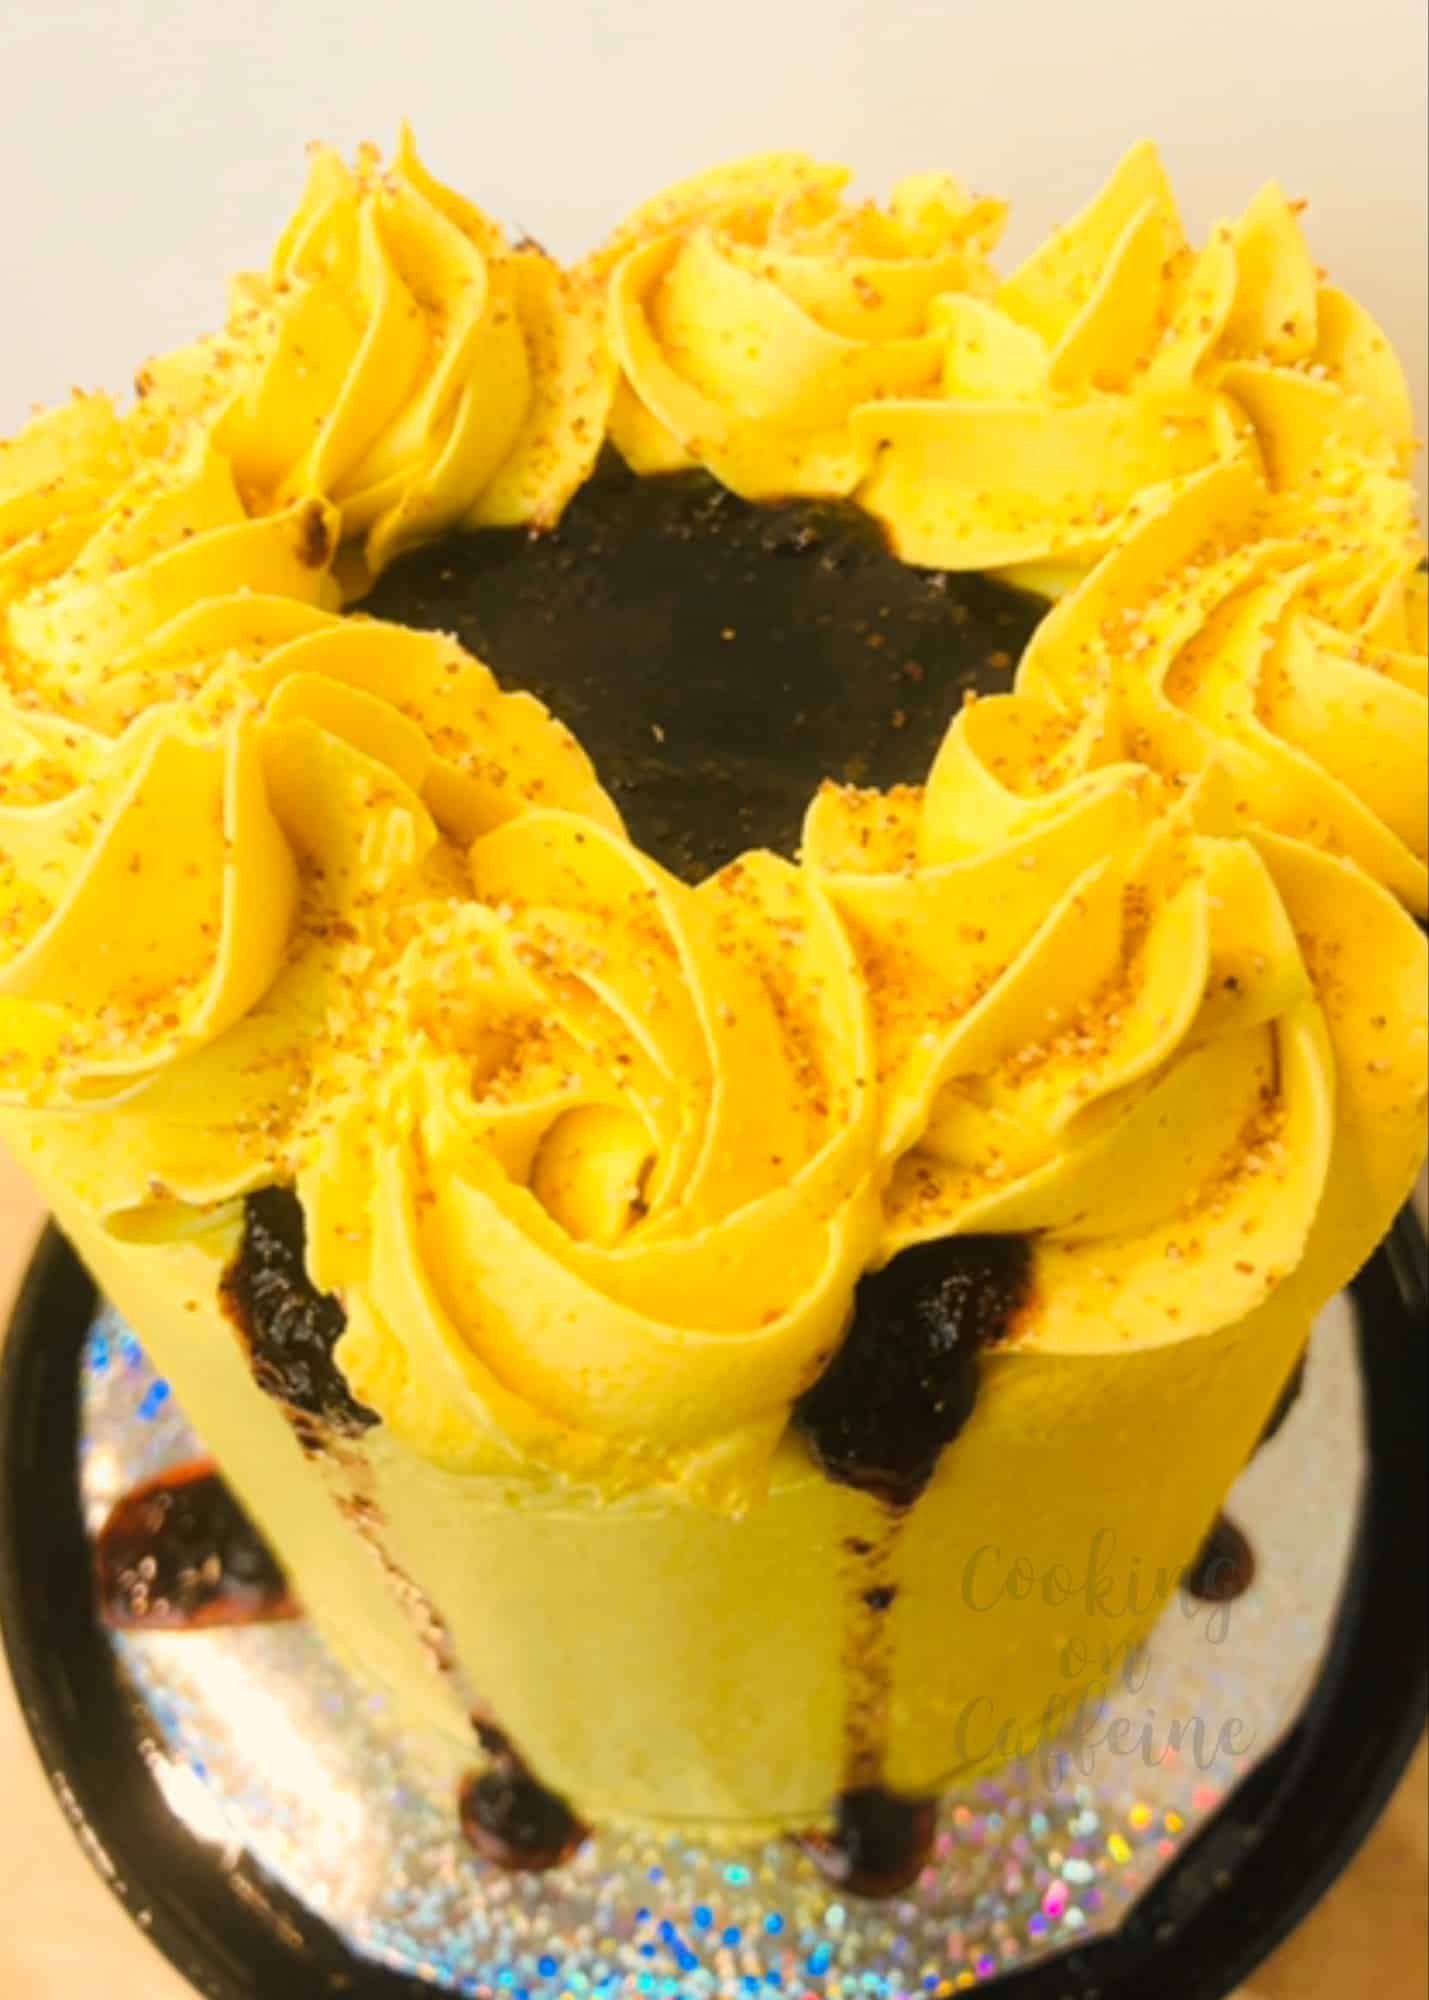
Sweet mango cake made from natural mango purée, sweet and spicy chili lime buttercream, accented with chamoy and adorned with Mexican spicy candy, this cake is addictive in all the right ways!