
Vegan meringue cookies are super easy to make, with ingredients you probably have right now.
Thanks to aquafaba, vegans and other egg-avoiders can now enjoy meringue whenever they want again. Here, we are making the ever-loved crispy meringue cookies enjoyed by people around the world, but with a twist that makes them easier than even egg-white meringues.
What is Meringue?
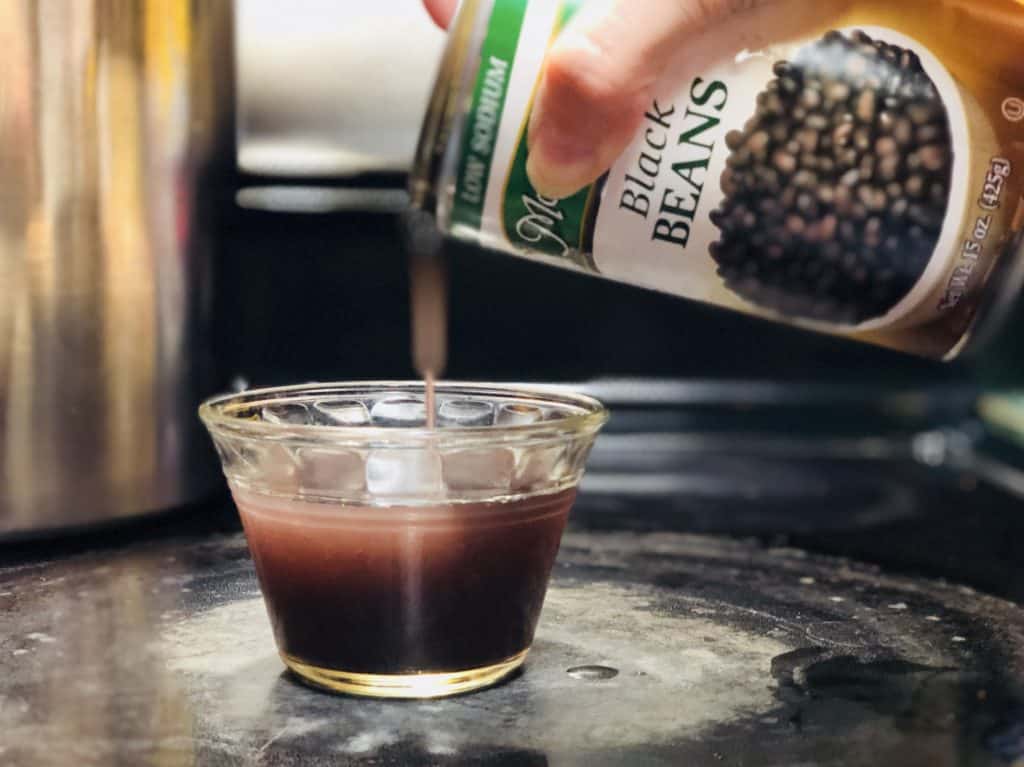
Meringue (pronounced murr-ANG, with a soft g like in “sang”) is the product of whipping egg whites (or in our case, the vegan alternative aquafaba, which is the water from cooked or canned beans and other legumes).
When you whip them at high speed they turn foamy, then fluffy, and then the fluff firms up and can be baked or torched, or folded into batters to make super light and airy bakes.
Meringue has traditionally been used for a plethora of different recipes and applications: Angel food cake is made using it, macarons and macaroons are made with meringue, meringue buttercream and royal icing are both meringue-based sweets. It is used to cover baked Alaska and meringue pie and to make marshmallows. It’s even used to top some types of cocktails!
And then there is the humble meringue cookie.
What is a Meringue Cookie?
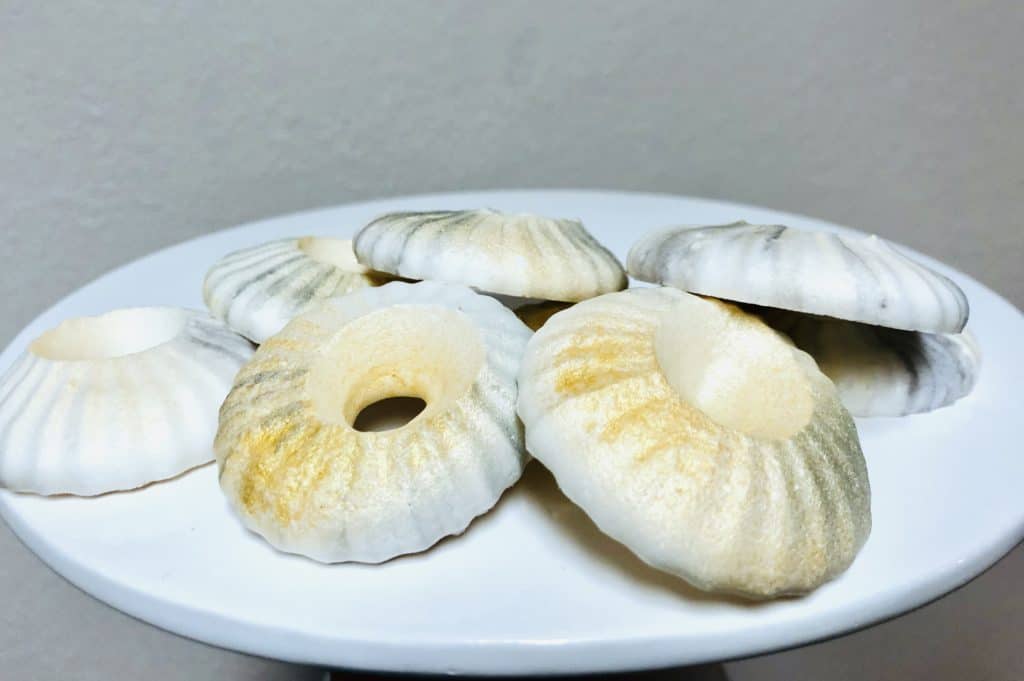
The meringue cookie is, at its simplest, dehydrated meringue. The fluff is prepared with sugar and sometimes different flavorings, then dolloped or piped onto a lined baking tray (or dehydrator tray) and baked at a very low temperature until all the moisture evaporates out.
What you’re left with is a crispy, sweet cookie that melts in your mouth in an instant. It’s basically the crunchy version of cotton candy/fairy floss.
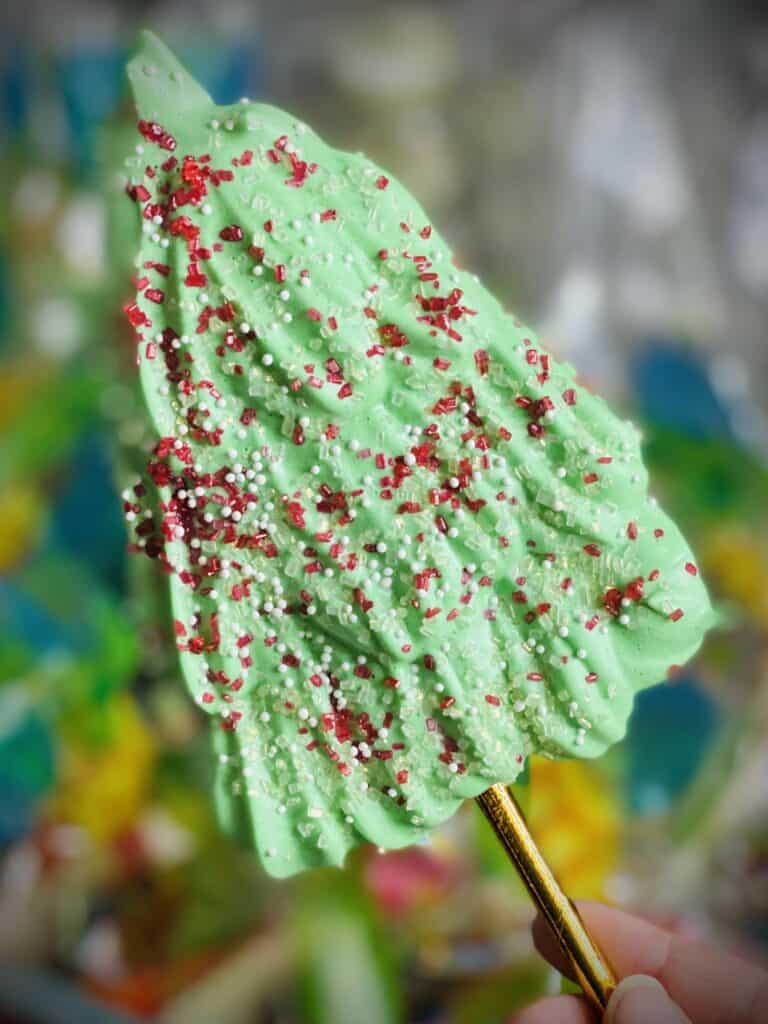
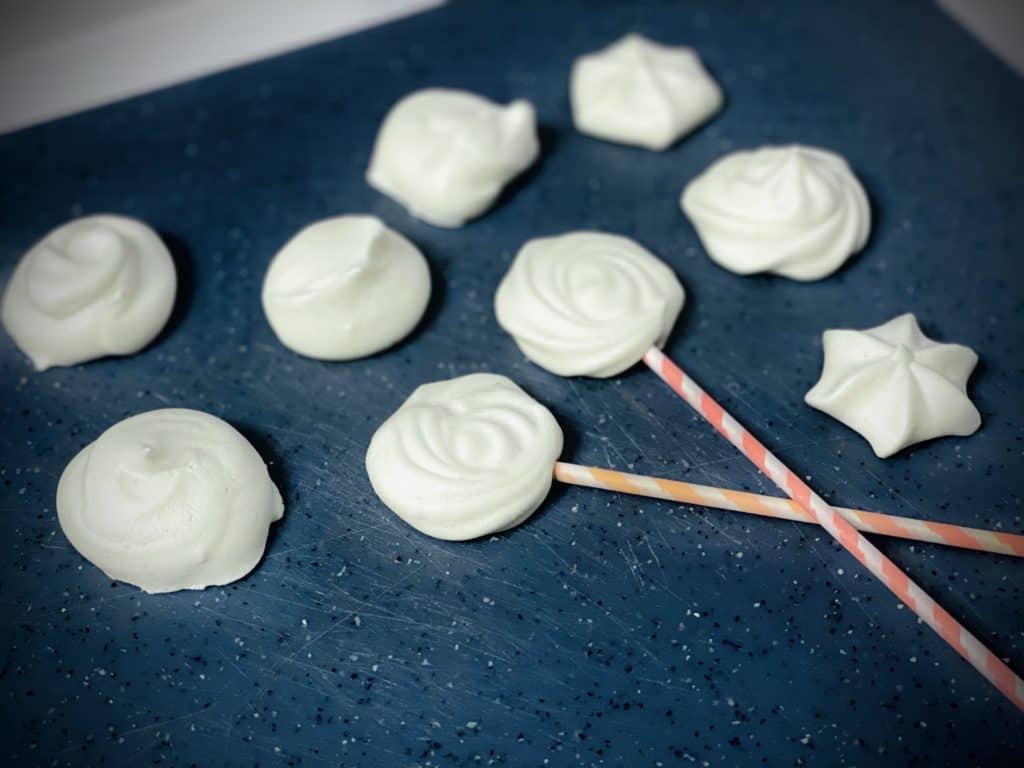
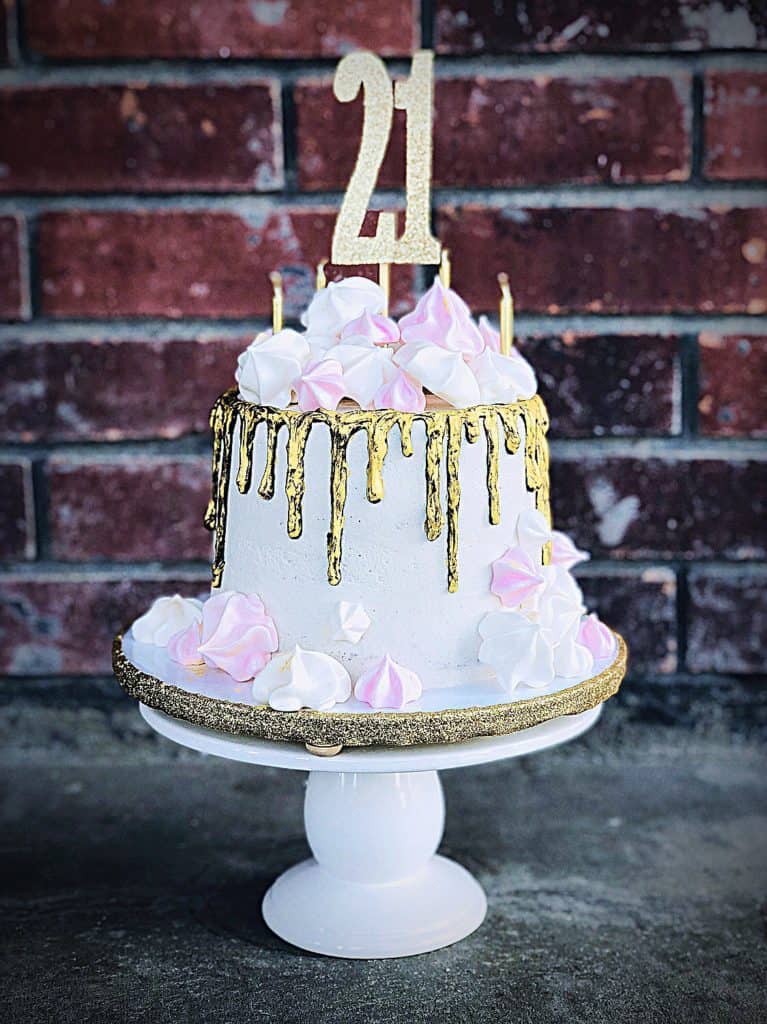
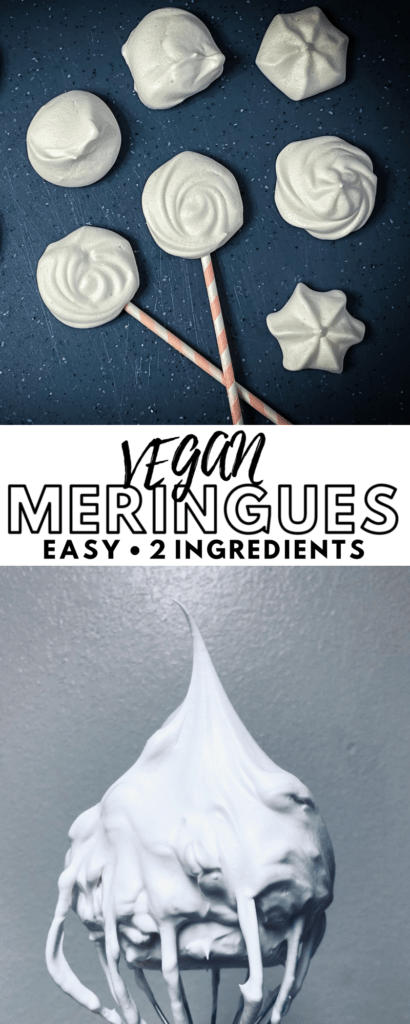
They can be enjoyed on their own, made into “pops”, or used to adorn other desserts.
What can I add to it?
Unfortunately, meringue is a very unstable mixture. It won’t hold on its own in raw form without stabilizers like agar agar and xanthan gum, and once it’s baked it needs to be kept absolutely dry or it will absorb any and all moisture in the air and turn into sticky marshmallows (which isn’t normally a bad thing, but when you want crispy cookies it’s not exactly a celebratory occasion).
Beyond that, oil will immediately deflate your meringue if it’s mixed in, or will prevent it from ever fluffing in the first place if introduced at the beginning.
The oil thing is important, because it severely limits us on what we can mix into the aquafaba for meringue: Flavoring oils can deflate it instantly. Even citrus peels have been known to do it because of their high oil content. Cinnamon and turmeric will kill it. Cocoa powder has enough oil that it will also destroy it. Butter and coconut oil are no-gos.
In this same token, you need to make sure that all your utensils and bowls you’re using to make the meringue are free from grease. I do this by wiping everything down with vinegar before I start.
Things you CAN add to your meringue include alcohol-based flavoring like vanilla and almond. You can also add citrus juice. I like to add drink powder like KoolAid or Tang. You can fold in nuts or chocolate chips or even candy cane bits for a minty treat during the holidays.
Just make sure that your additions are not oily/greasy and that they won’t release fats at low baking temperatures.
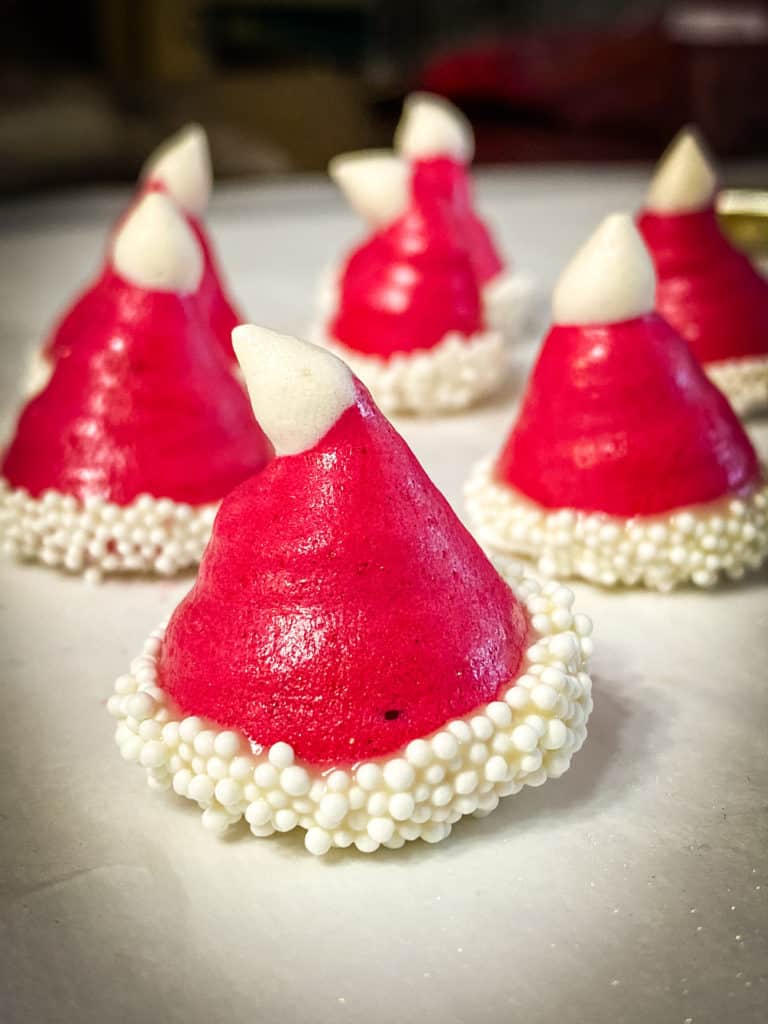
Feel free to add sprinkles, edible dust, or spray color before they bake (as long as they’re oil/grease-free) for some added pizzazz, as well.
You can also drizzle them, dip them, or coat them with chocolate after they’re dehydrated and it will keep the crispness safe.
Cooking vs Baking vs Dehydrating
There’s a difference between what we are doing here and baking/cooking the meringue. The meringue itself has already been cooked during the bean-making/canning process, so we don’t need to do it again. And if we did, we would melt it.
Cooking our meringue at temperatures higher than 210°F or 99°C will turn them to delicious, sweet, candy soup. The aquafaba will return to liquid form because the sugar melts and it has no structure to hold on to, anymore.
The sugar we add into the aquafaba crystalizes while whipping and gives us the framework for our meringue. The millions of minuscule bubbles formed as we incorporate air hang onto that sugar framework, and it’s what allows the meringue to stand. If you melt the sugar, the whole thing is going to go down with it.
Now, sugar itself doesn’t melt until 337°F/170°C so I’m not talking about the sugar melting from the heat. It melts because your aquafaba starts to boil. Water boils at 212°F/100°C, and our aquafaba is made primarily of water. So it boils, all its bubbles pop, it dissolves the sugar, and you get a puddle instead of crispy cookies.
So that being understood, we want to keep our temperature low and slow, here – under that boiling point of 212°F/100°C. We want to slowly evaporate the moisture out of the cookies rather than cook them.
If your oven doesn’t have a setting that low, you can turn it to the lowest it does have and keep the oven door cracked open. My favorite technique for this is just to stick a wooden or silicone spoon in the door to keep it from closing.
Apart from the oven, an actual dehydrator machine will work beautifully for these guys.
What equipment do I need?
For this recipe, you need a small saucepan and stovetop/burner. A silicone spatula will also be useful.
You’ll need a large mixing bowl, either glass or stainless steel (or the bowl of a stand mixer).
You’ll need a mixer, either a stand mixer with a whisk attachment or a handheld mixer will work. You can use a regular whisk and do this by hand – but I don’t recommend it at all. I’ve done it and it took almost two hours and I was sore for days after.
You need a baking tray. I recommend light colored aluminum, but if all you have is glass or dark colored metal, just turn your temperature down another 10°F.
You need either parchment paper or a silicone mat to line your baking sheet with.
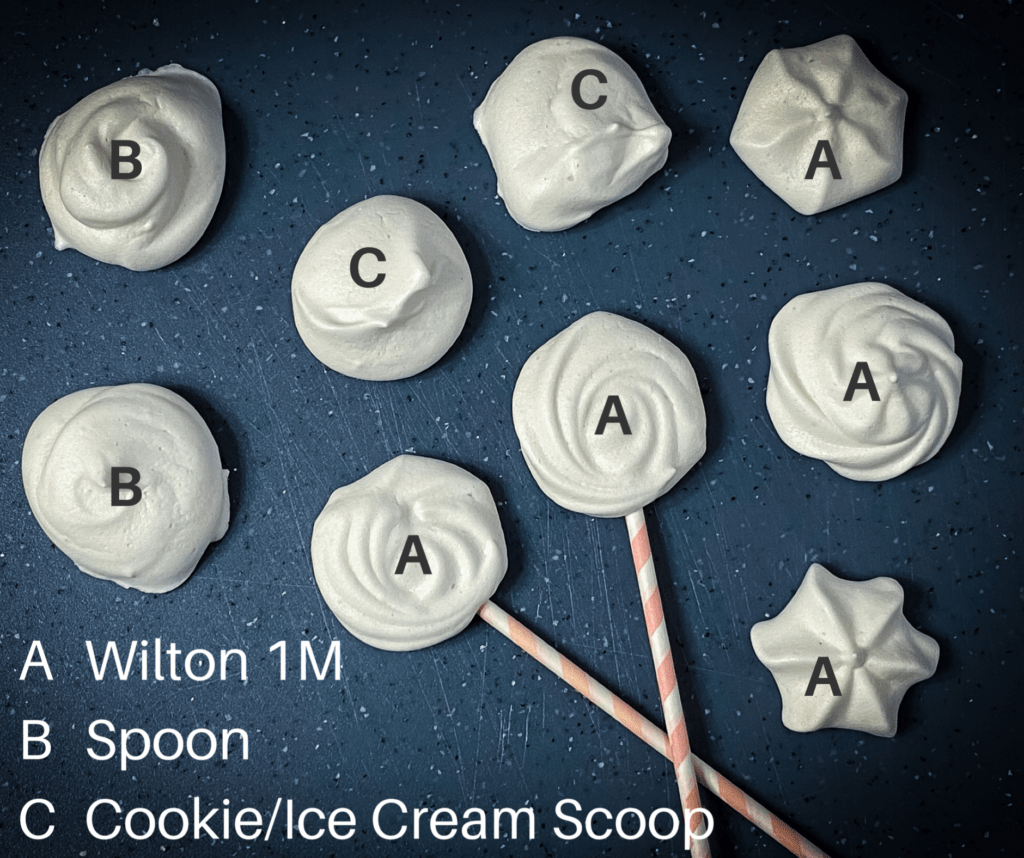
You need a large spoon or ice cream scoop if you want to make rustic-style dollop meringues, or a piping bag and large tip/nozzle if you want to pipe them.
And you need either an oven or a dehydrator.
What ingredients do I need?
The ingredients here are really simple!
Aquafaba and granulated white sugar.
Everything else is optional.
For the optionals, I’m going to include a quarter teaspoon of something acidic to help the meringue fluff a bit. Acidity strengthens the structure, so you can add vinegar, cream of tartar, or even lemon juice and it’ll help the meringue to be more successful.
Oil-free flavors and colors are also optional. Just remember to forgo cinnamon, cocoa, turmeric, and other ‘strong’ flavors as they can melt your meringue. Vanilla is highly recommended though (if you’re not allergic) because it’ll make your meringue taste like marshmallows!
If your aquafaba is unsalted, you may want to add a pinch of salt to offset the sweetness a little.
The process: how to make the easiest vegan meringue cookies ever
Preheat your oven or dehydrator to the lowest temperature it will go. If it won’t heat lower than 210°F/100°C, keep the oven door ajar.
Line your baking sheets or dehydrator trays with parchment paper or silicone baking mats.
Shake your can of beans (or homemade beans) and pour your aquafaba into a small pan (make sure to thoroughly clean the rim of the can first).
Pour half the amount of aquafaba in sugar to the pan (pour the sugar in until it forms a small mountain whose ‘peak’ is slightly above the aquafaba).
Over medium heat, stir the mixture until the sugar has completely dissolved.
Once the sugar has fully dissolved, turn off the heat and pour the aquafaba syrup into your mixing bowl
Add a 1/2 tsp of vinegar or lemon juice, or 1/8 tsp of cream of tartar, or your acid-based drink powder now if you’re using them.
With your mixer with whisk attachment or beaters, whip on medium speed until the mixture is foamy, then add your vanilla.
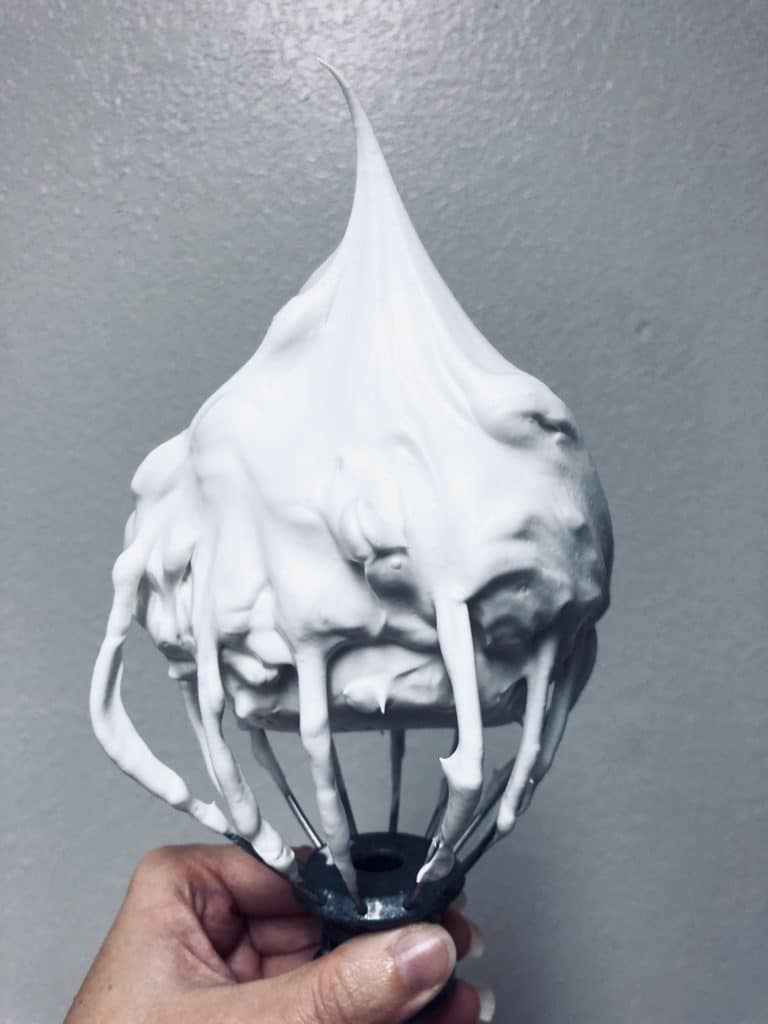
Turn the mixer up to high until you get stiff peaks. This means that the peaks that form when you lift the whisk don’t bend or fall over, but keep their shape.
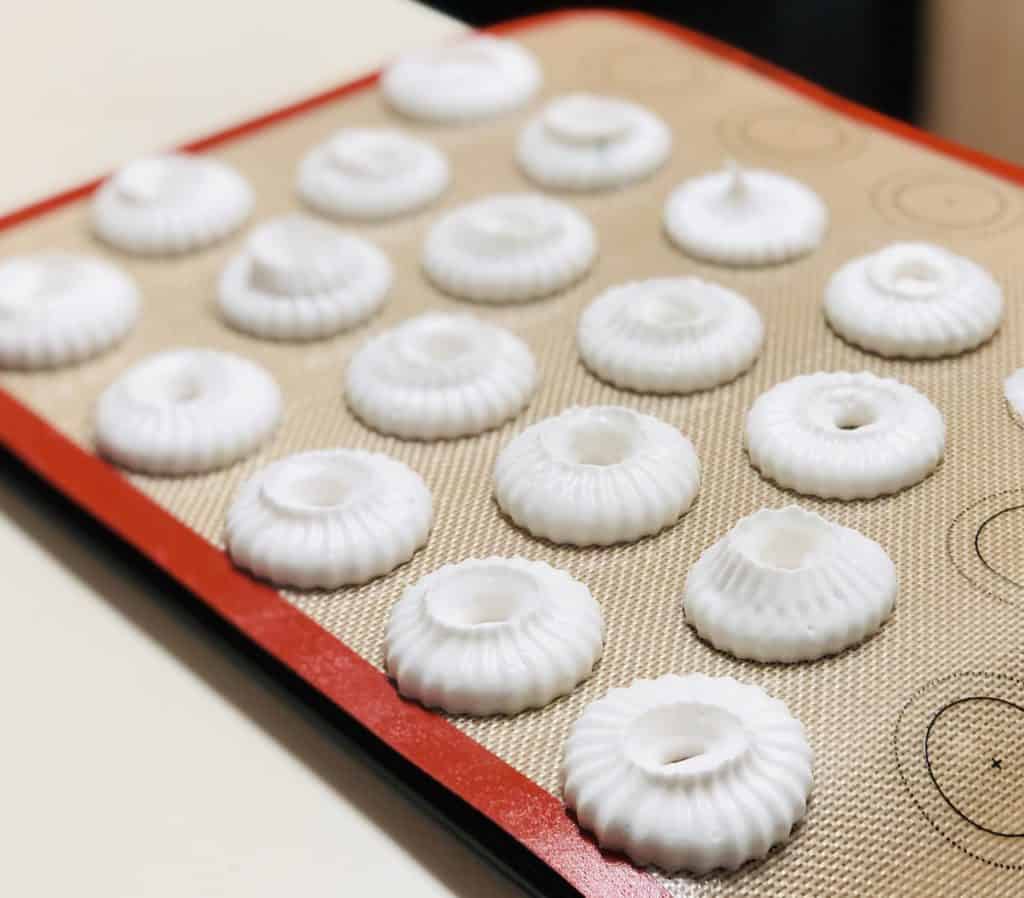
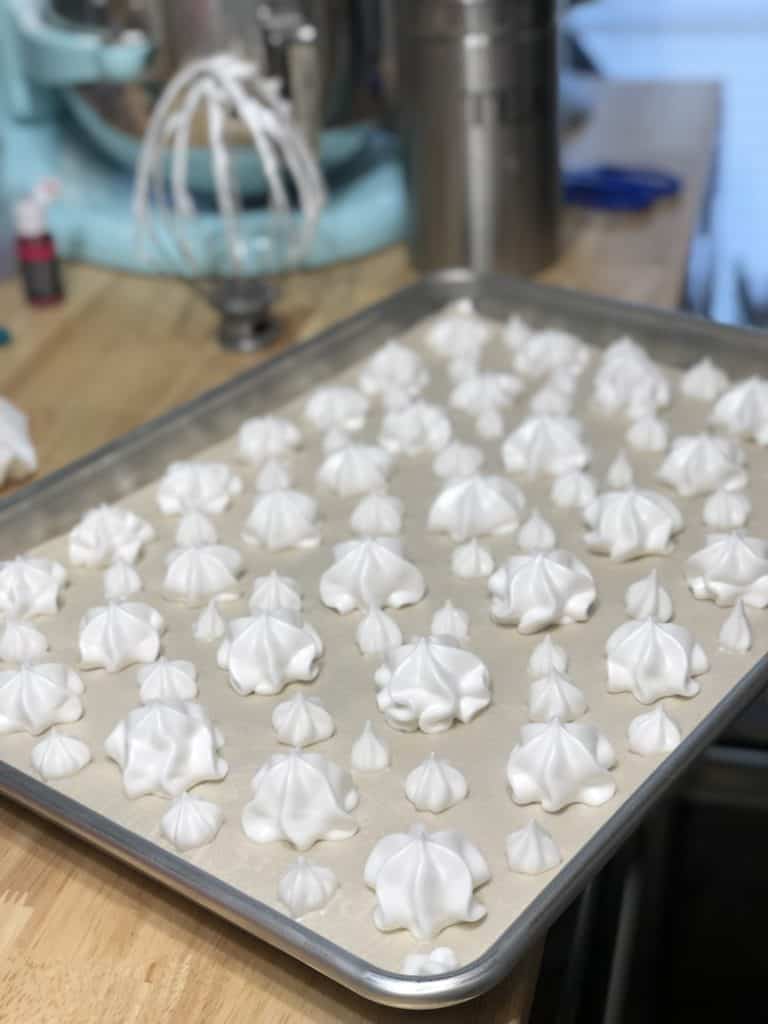
Spoon, scoop, or pipe your meringues onto your lined baking sheets in whatever shapes you’d like
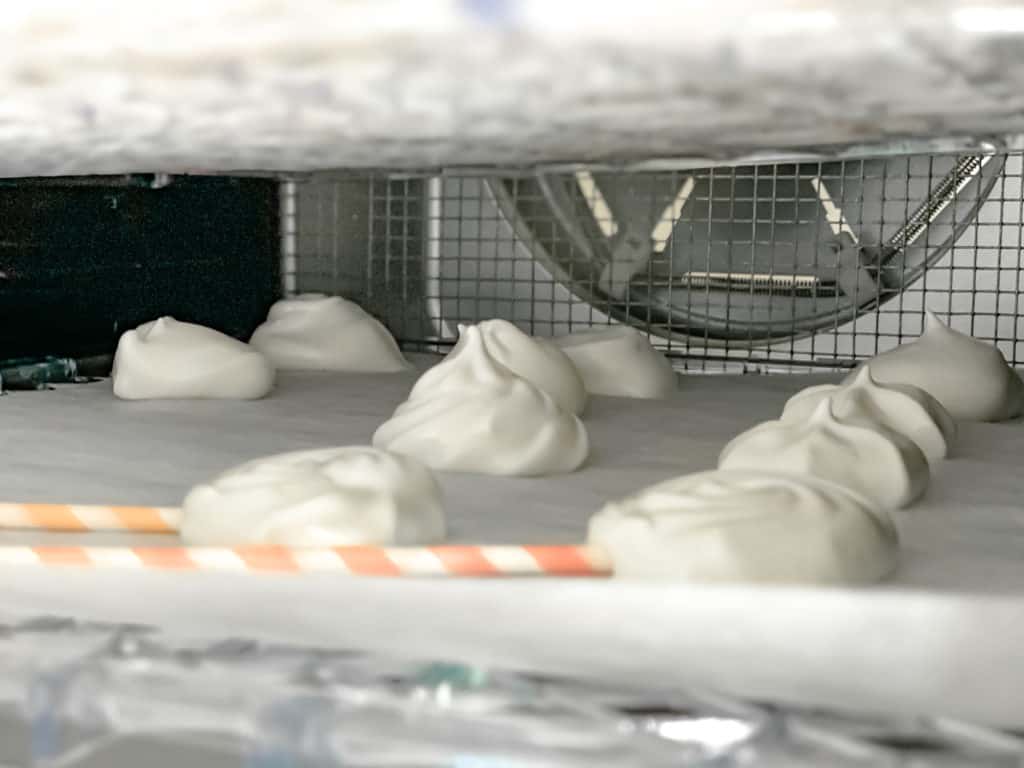
Put into your preheated oven or dehydrator and bake/dehydrate for two hours or until the cookies come clean off the baking sheet when cool and are dry all the way through.
How do I store them?
Store your crispy little cookies in an airtight container with either dry rice or silica packets to absorb any humidity. As long as they are kept like this, they will be good indefinitely.
If they happen to get sticky from humidity before you get a chance to put them away, just pop them back into the oven/dehydrator until they dry back out.
Pin it for later:
Video Tutorial:
Coming soon!
Recipe
Easiest Vegan Meringue Cookies Ever with Aquafaba

Thanks to aquafaba, vegans and other egg-avoiders can now enjoy meringue whenever they want, again. Here, we are making the ever-loved crispy meringue cookies enjoyed by people around the world, but with a twist that makes them easier than even egg-white meringues.
Ingredients
- 1/4-1/2 c aquafaba, any plain
- 1/8-1/4c granulated sugar, vegan
Optional
- 1 tsp alcohol based flavor extract (such as lemon, vanilla, or almond)
- Gel or powder food coloring
- 1/2 tbsp citrus juice for flavor
- 2-4 tbsp chopped nuts, chocolate, or candy bits
- 1/4 tsp acidity: vinegar, lemon juice, cream of tartar, etc.
Instructions
- Preheat your oven or dehydrator to the lowest temperature it will go. If it won’t heat lower than 210°F/100°C, keep the oven door ajar.
- Line your baking sheets or dehydrator trays with parchment paper or silicone baking mats.
- Shake your can of beans (or homemade beans) and pour your aquafaba into a small pan (make sure to thoroughly clean the rim of the can first).
- Pour half the amount of aquafaba in sugar to the pan (pour the sugar in until it forms a small mountain whose 'peak' is slightly above the aquafaba).
- Over medium heat, stir the mixture until the sugar has completely dissolved.
- Once the sugar has fully dissolved, turn off the heat and pour the aquafaba syrup into your mixing bowl.
- Add a 1/2 tsp of vinegar or lemon juice, or 1/8 tsp of cream of tartar, or your acid-based drink powder now if you’re using them.
- With your mixer and whisk attachment or beaters, whip on medium speed until the mixture is foamy, then add your vanilla.
- Turn the mixer up to high until you get stiff peaks. This means that the peaks that form when you lift the whisk don’t bend or fall over, but keep their shape.
- Spoon, scoop, or pipe your meringues onto your lined baking sheets in whatever shapes you’d like.
- Put into your preheated oven or dehydrator and bake/dehydrate for two hours or until the cookies come clean off the baking sheet when cool and are dry all the way through.
Notes
Store your crispy little cookies in an airtight container with either dry rice or silica packets to absorb any humidity. As long as they are kept like this, they will be good indefinitely.
If they happen to get sticky from humidity before you get a chance to put them away, just pop them back into the oven/dehydrator until they dry back out.
Recommended Products
As an Amazon Associate and member of other affiliate programs, I earn from qualifying purchases.
-
 Gourmia GFD1650B GFD1650 Premium Electric Food Dehydrator Machine-Digital Timer and Temperature Control, 6 Tray, 1
 -
 Hofumix Russian Piping Tips Baking Kits Piping Nozzles Sultan Ring Cookies Mold Kits Wilton Cake Decorating Supplies for Kitchen Gift(4 pack)
 -
 Hiware 18/8 Stainless Steel Cookie Scoop for Baking - Medium Size - Durable Cookie Dough Scooper - 1 1/2 Tbsp
 -
 NSF-Approved Oven Thermometer
 -
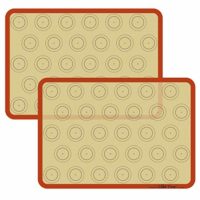 Set of Two Half-Sheet Size Silicone Baking Mats with Macaron Template
 -
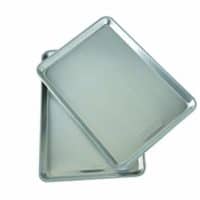 Commercial Aluminum Half-Sheet Pans
 -
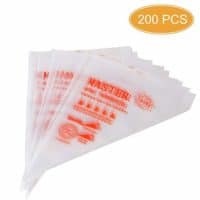 200 Count Disposable "Tipless" Piping Bags
So you’re only using half the aquafarba?
I’m using the full amount of aquafaba, and half the volume of aquafaba in sugar. So if the aquafaba is two cups, I use a cup of sugar.
I hope that helps. 🙂